Baule Bead Pendant Necklace

Baule Bead Pendant Necklace
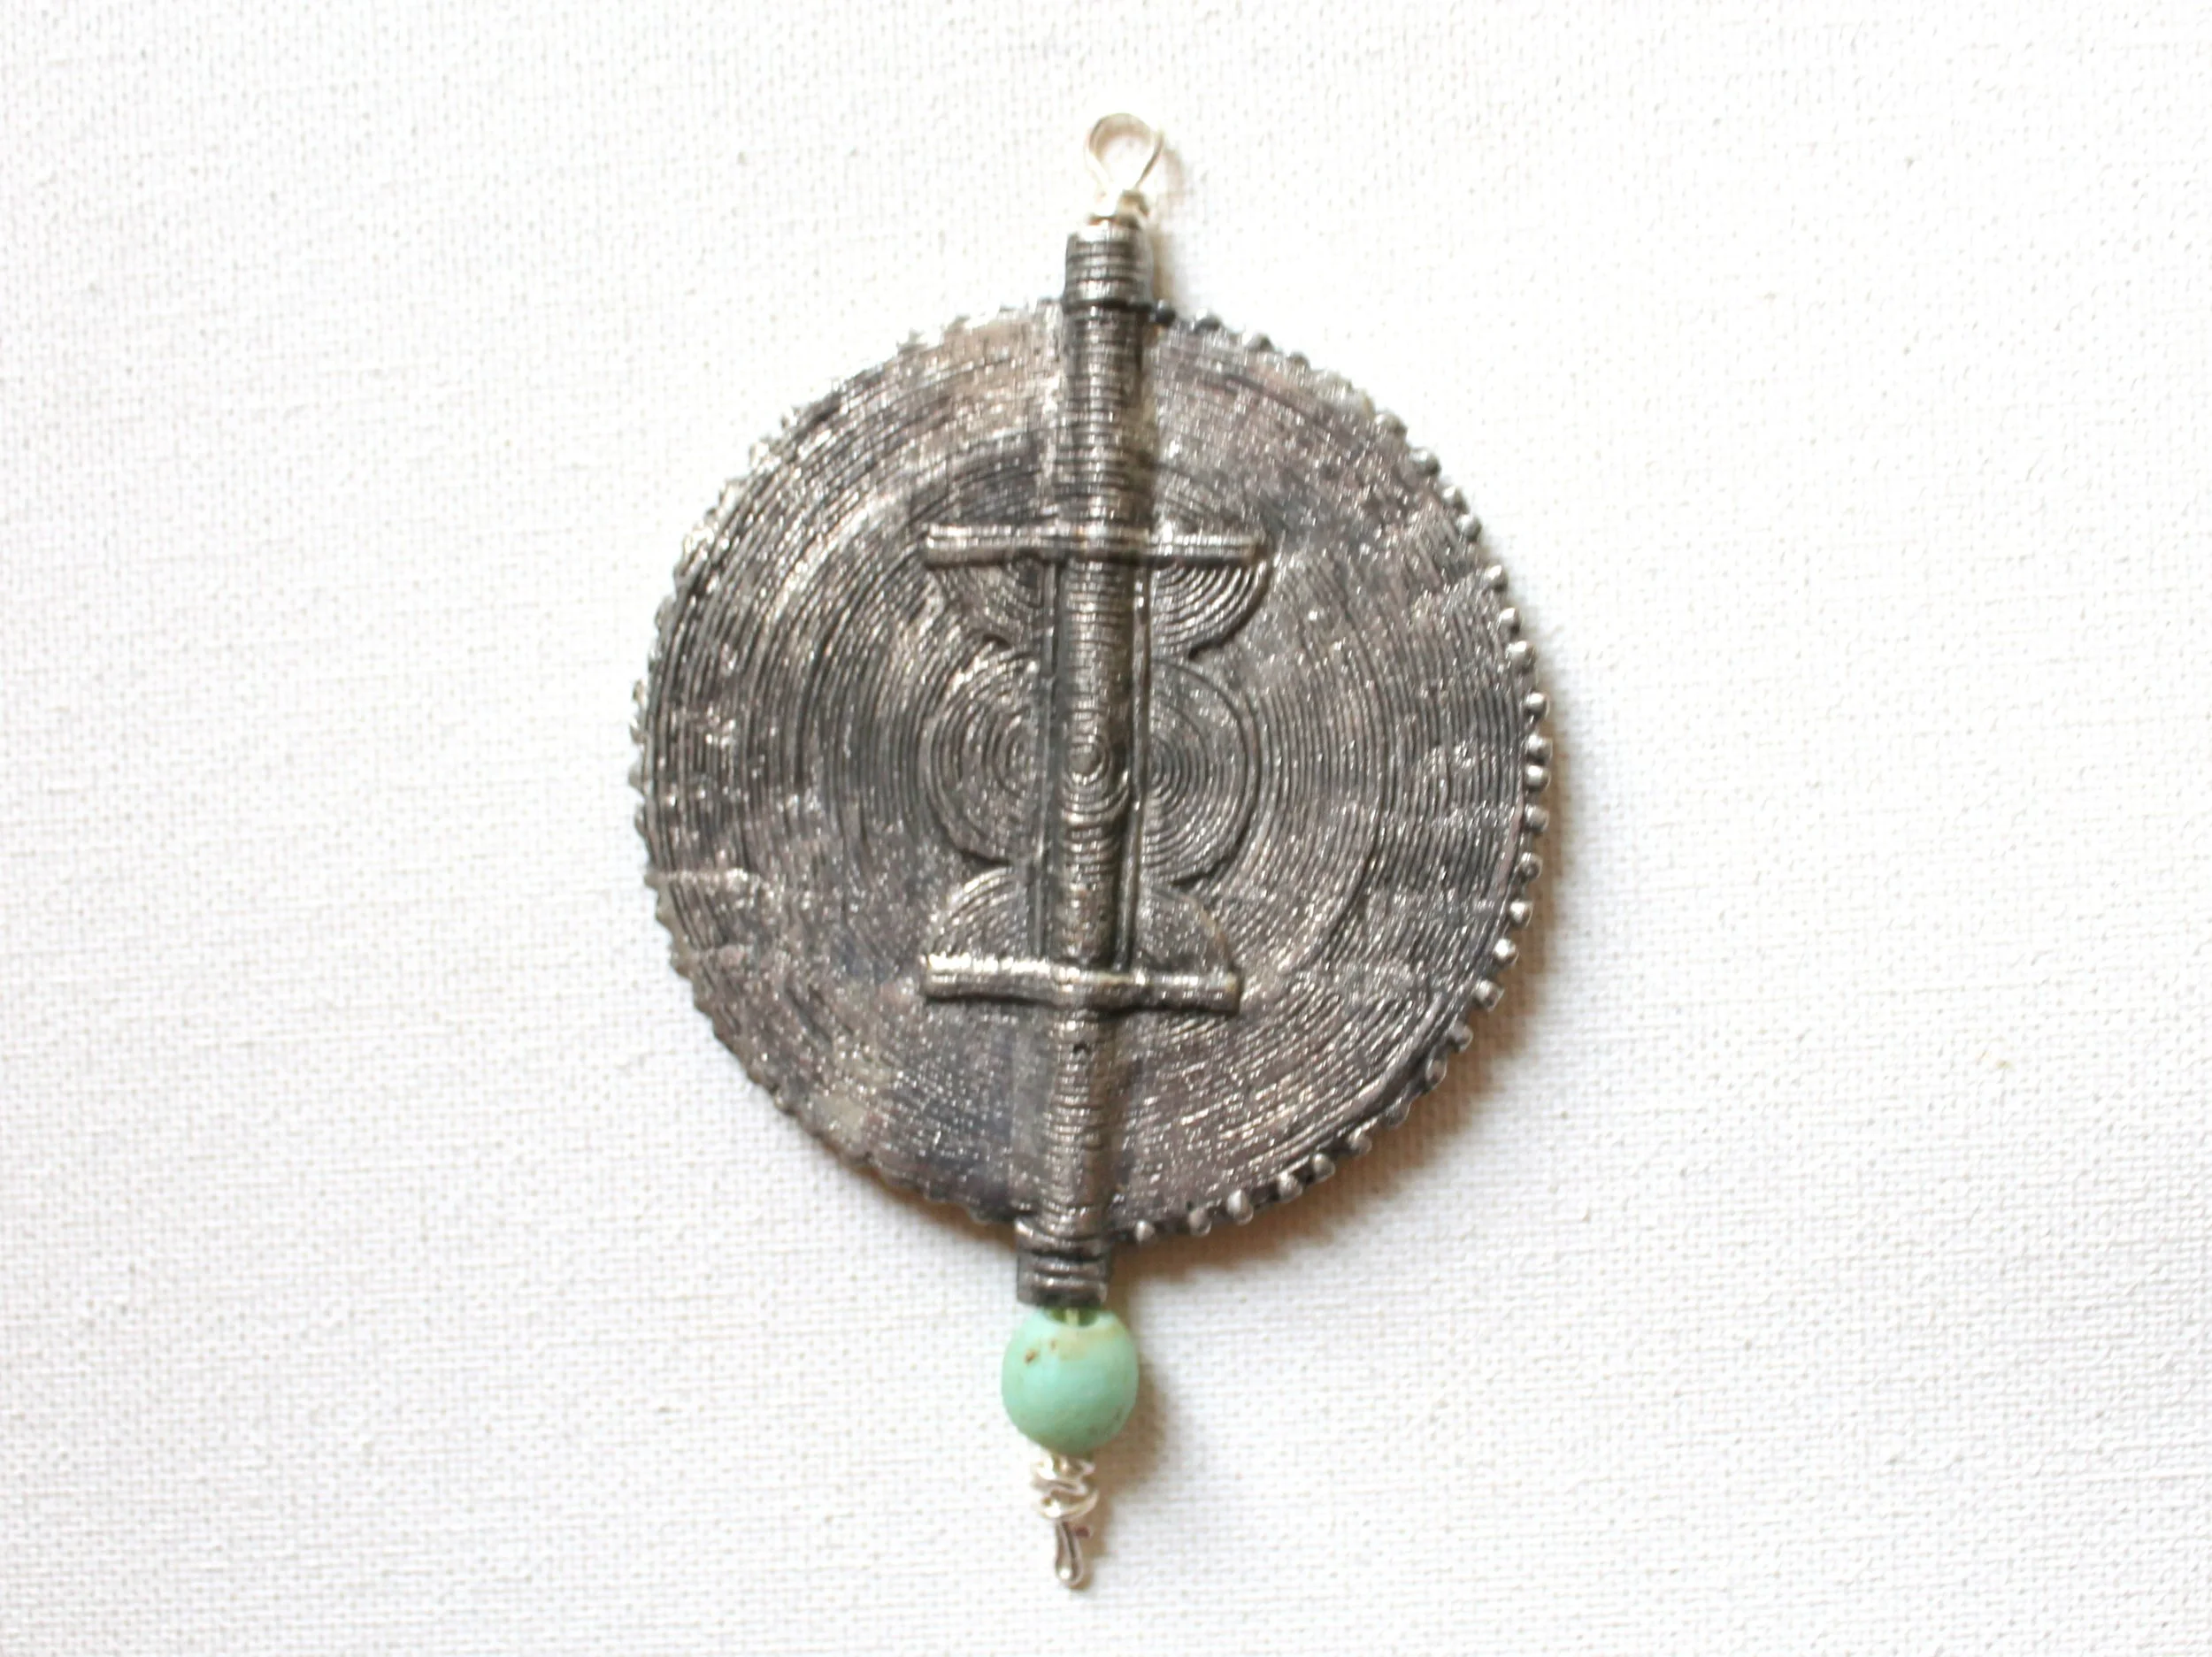
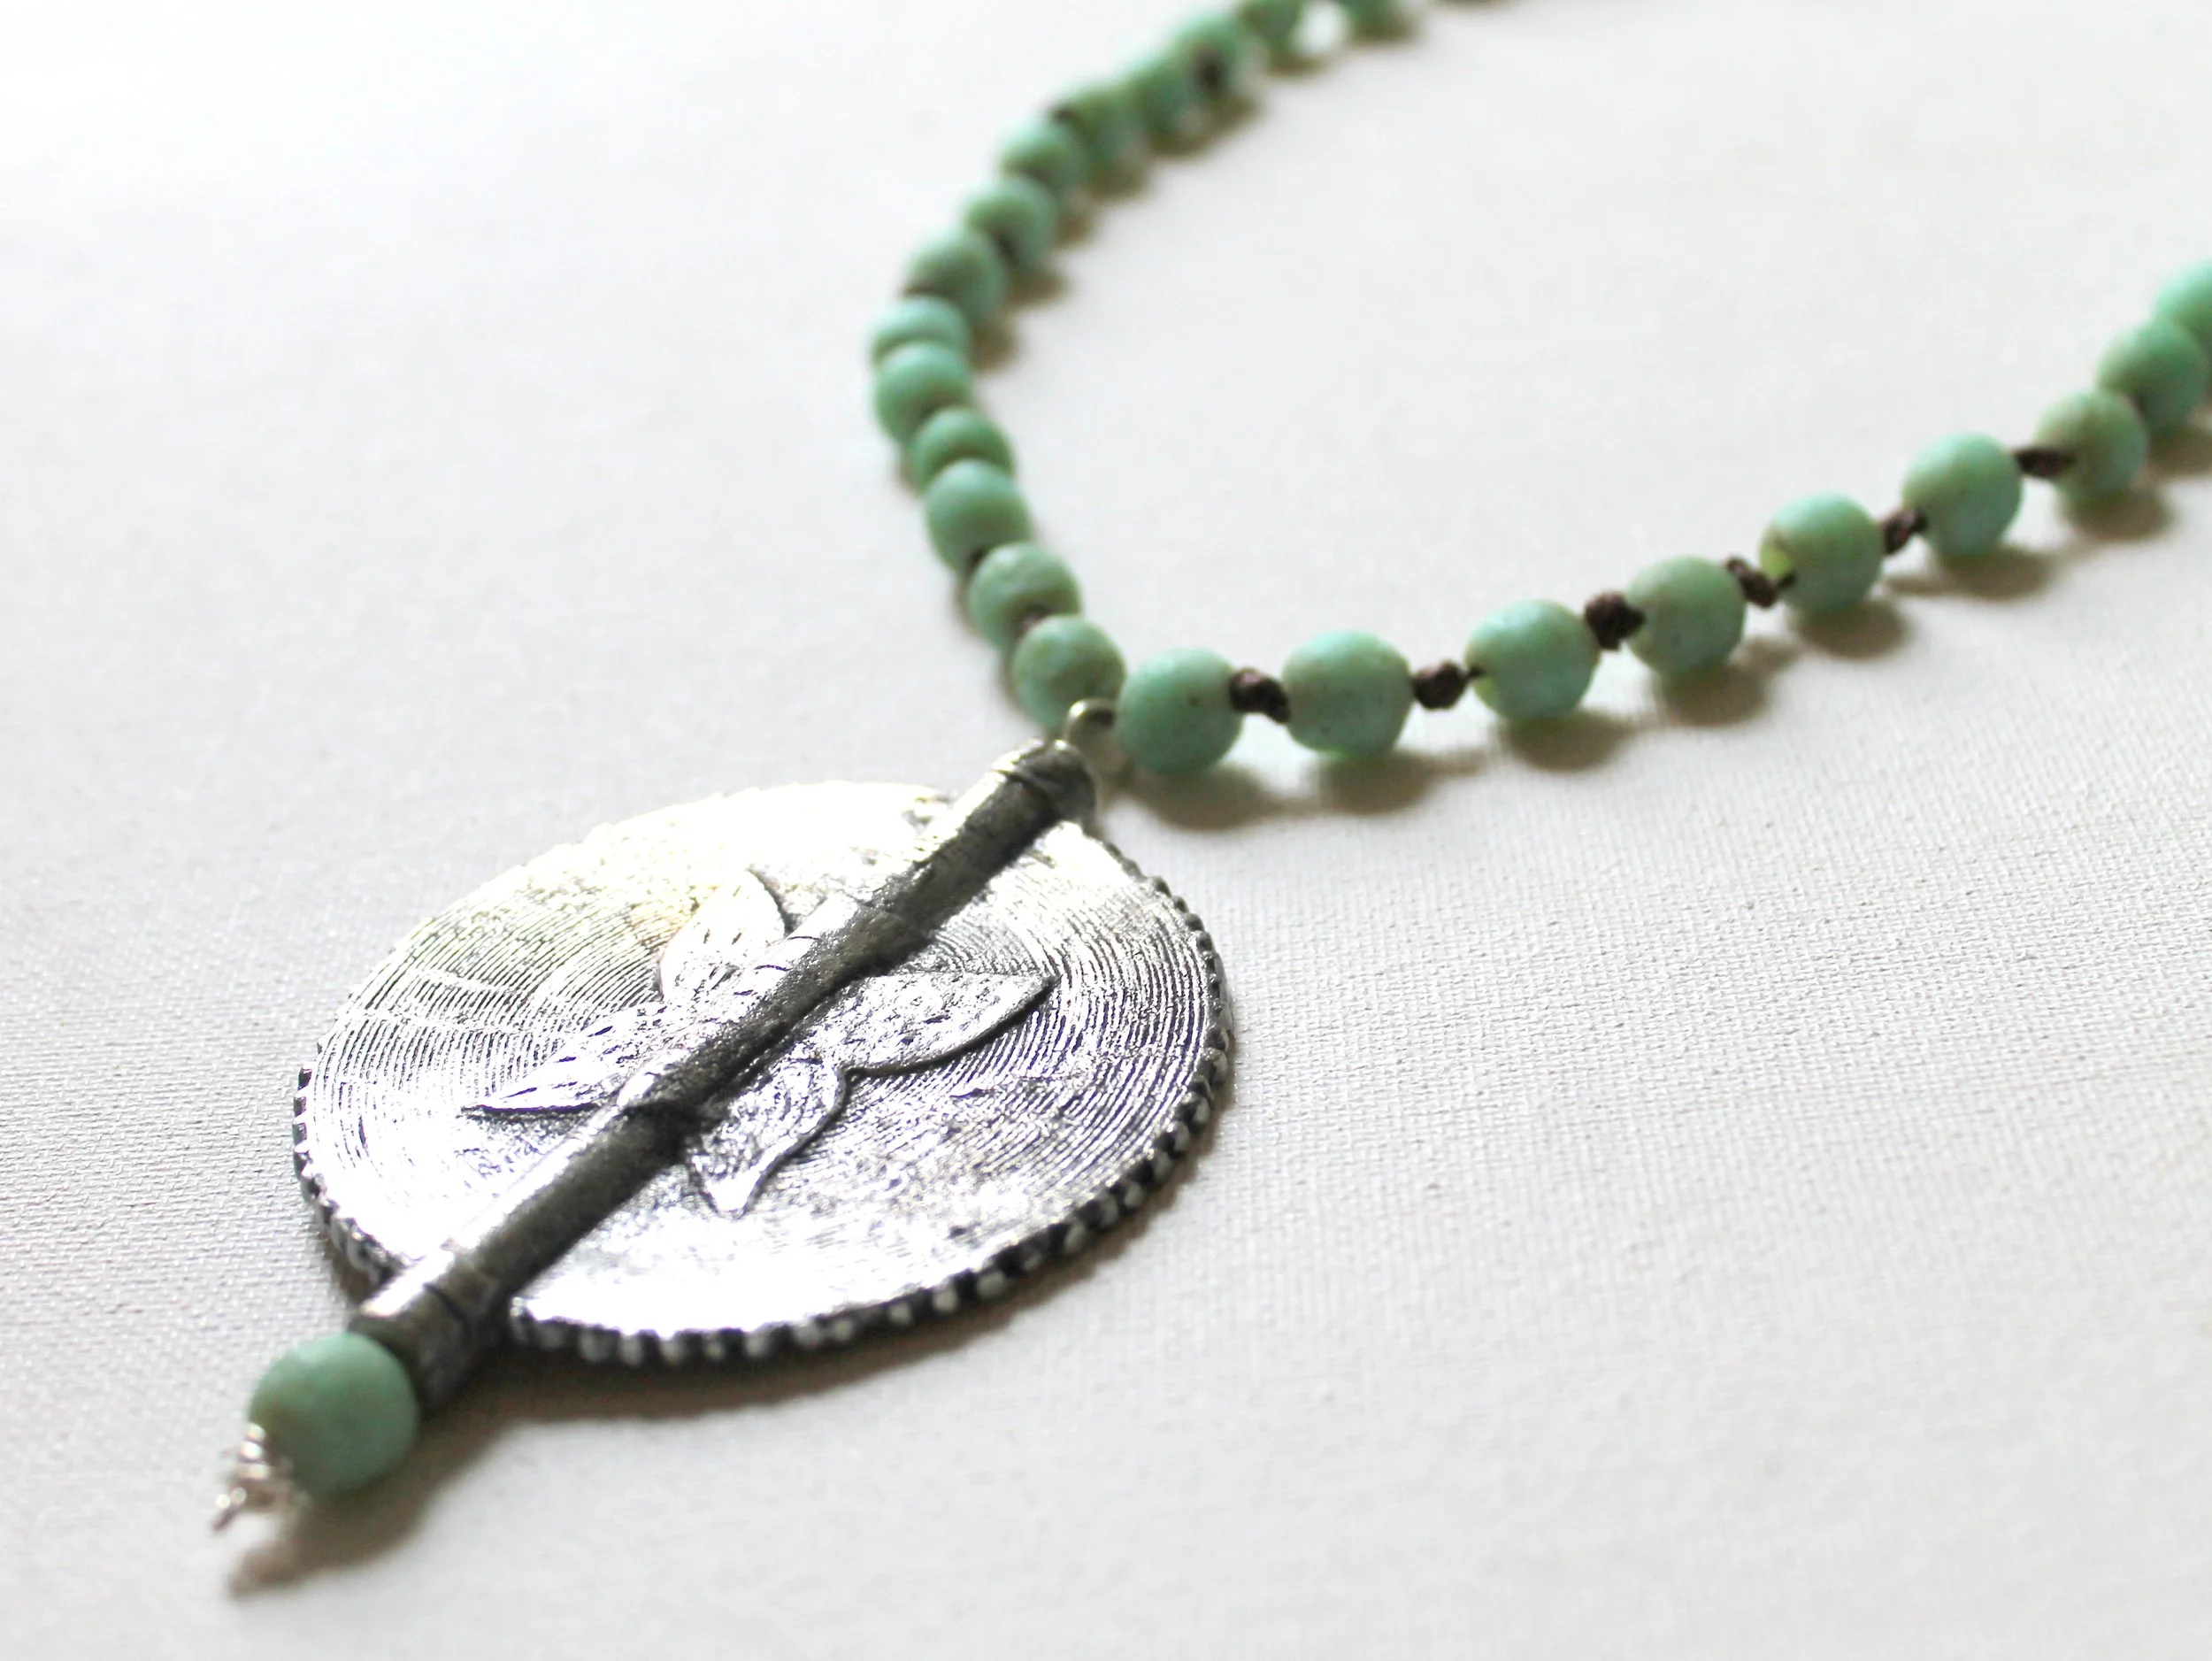
I am fascinated by these beautiful baule bead pendants. Historically, they were used to measure gold on the Ivory Coast. I've used it to make a beautiful statement necklace.
You can find a variety of these baule bead pendants for sale at The Bead Chest, as well as some smaller ones if you prefer.
In fact, I found all the beads for this project on www.thebeadchest.com.
Video Tutorial:
(Step-by-step photo instructions are below, including links to the exact materials I used to make the necklace.)
Running time: 20:26
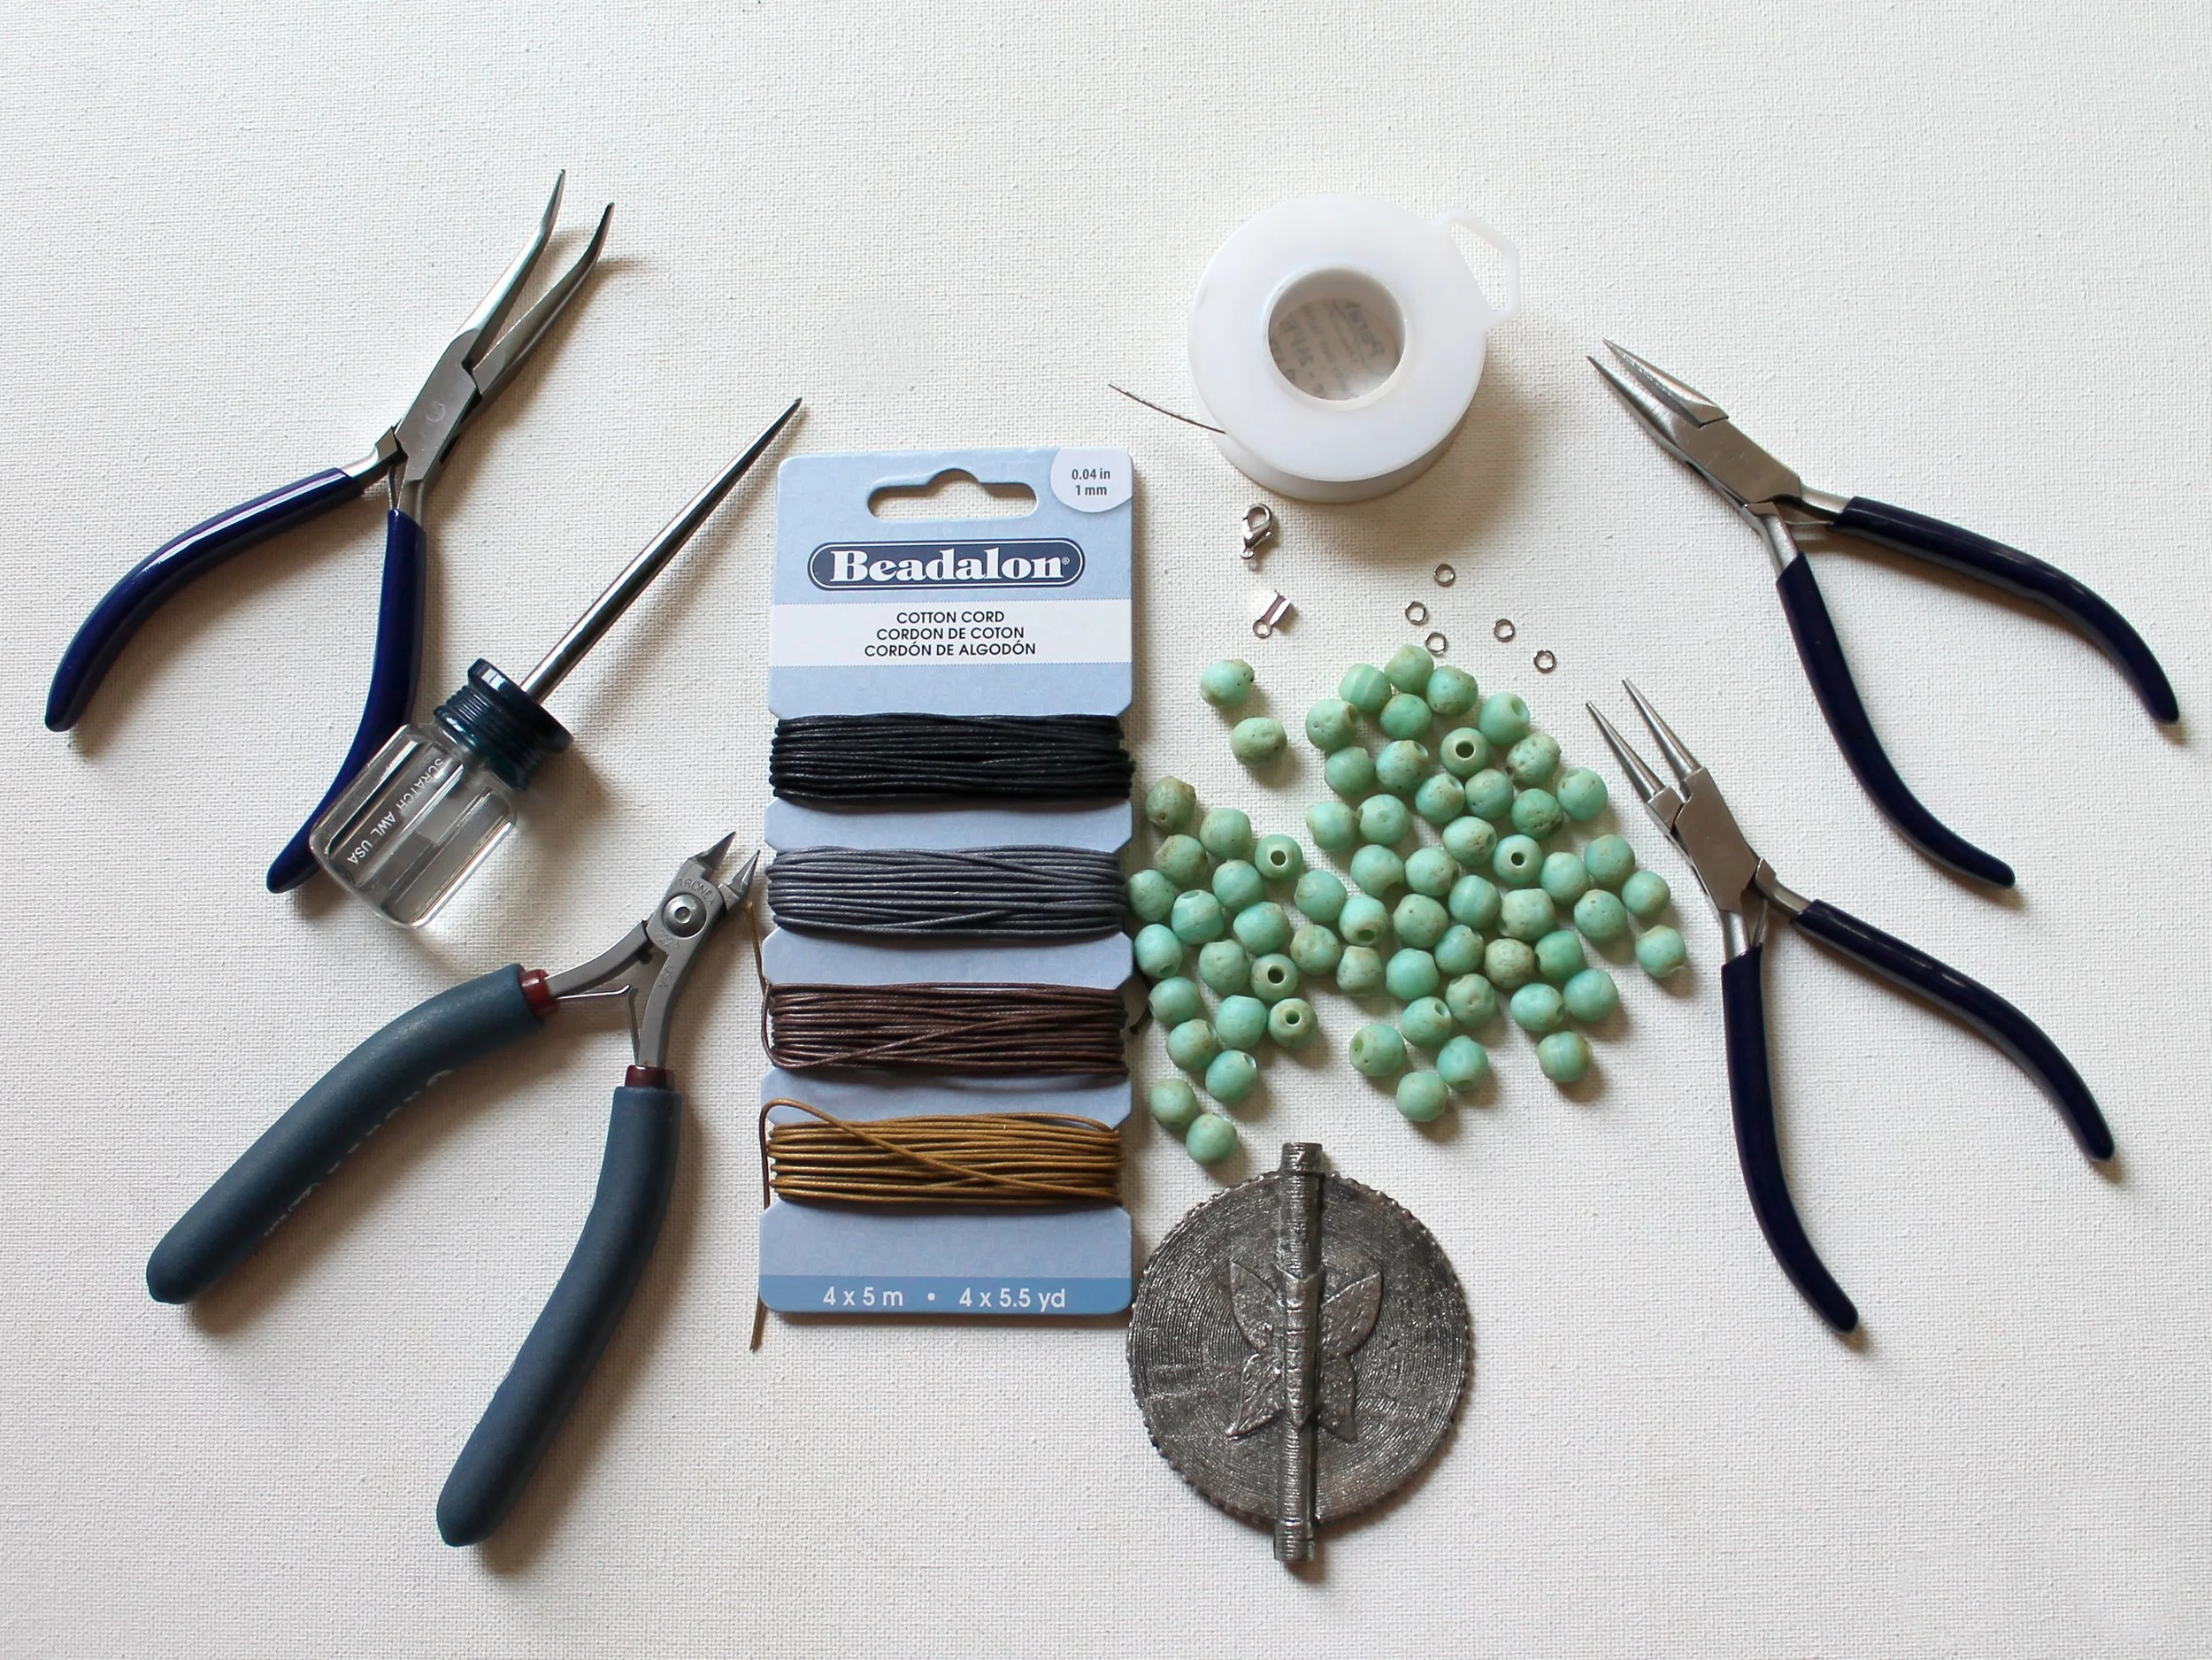
Materials and Tools:
Baule Bead Pendant (I specifically used the butterfly as well as the traditional.)
Pistachio Green Ancient Style Java Glass Beads (9mm) (Find a variety of colors here.)
Cotton Cord (1 mm)
18 gauge, half-hard round wire (The Bead Chest has a variety of color options available if you prefer)
Fold over crimp ends - optional
Jump rings - optional
Lobster clasp - optional
Wire cutters
Round nose pliers
Chain nose pliers
Bent nose pliers
Awl
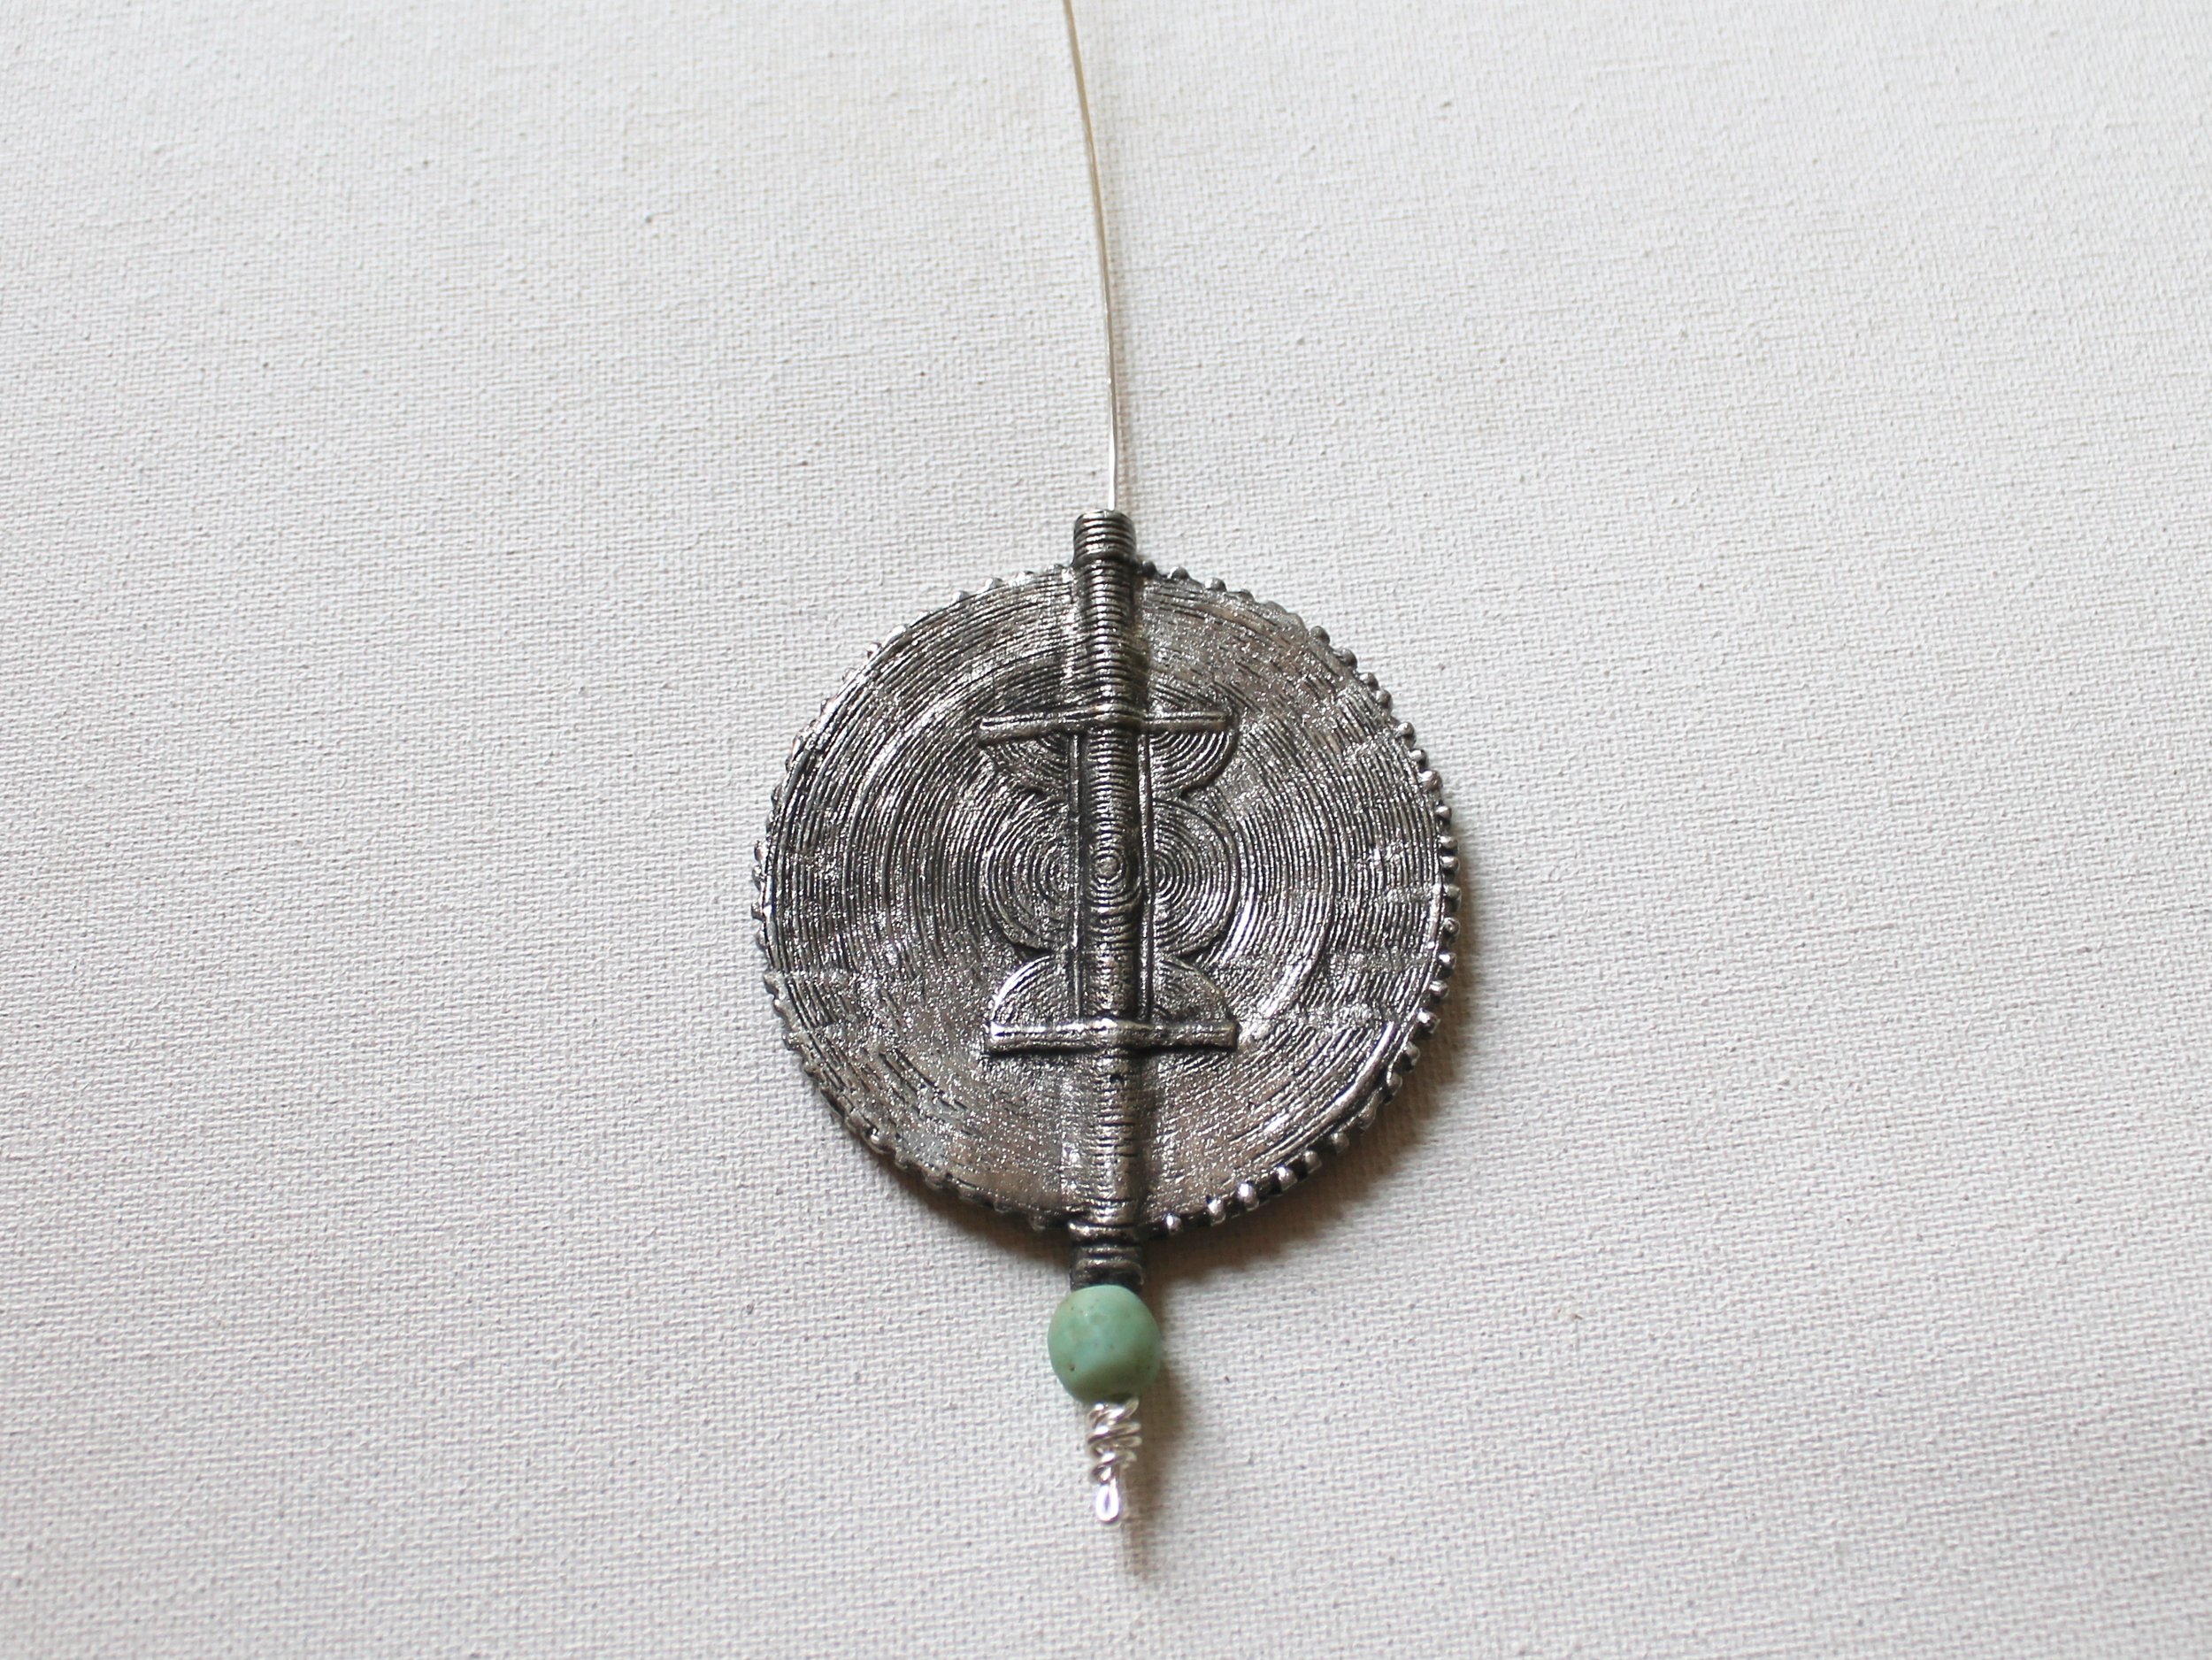
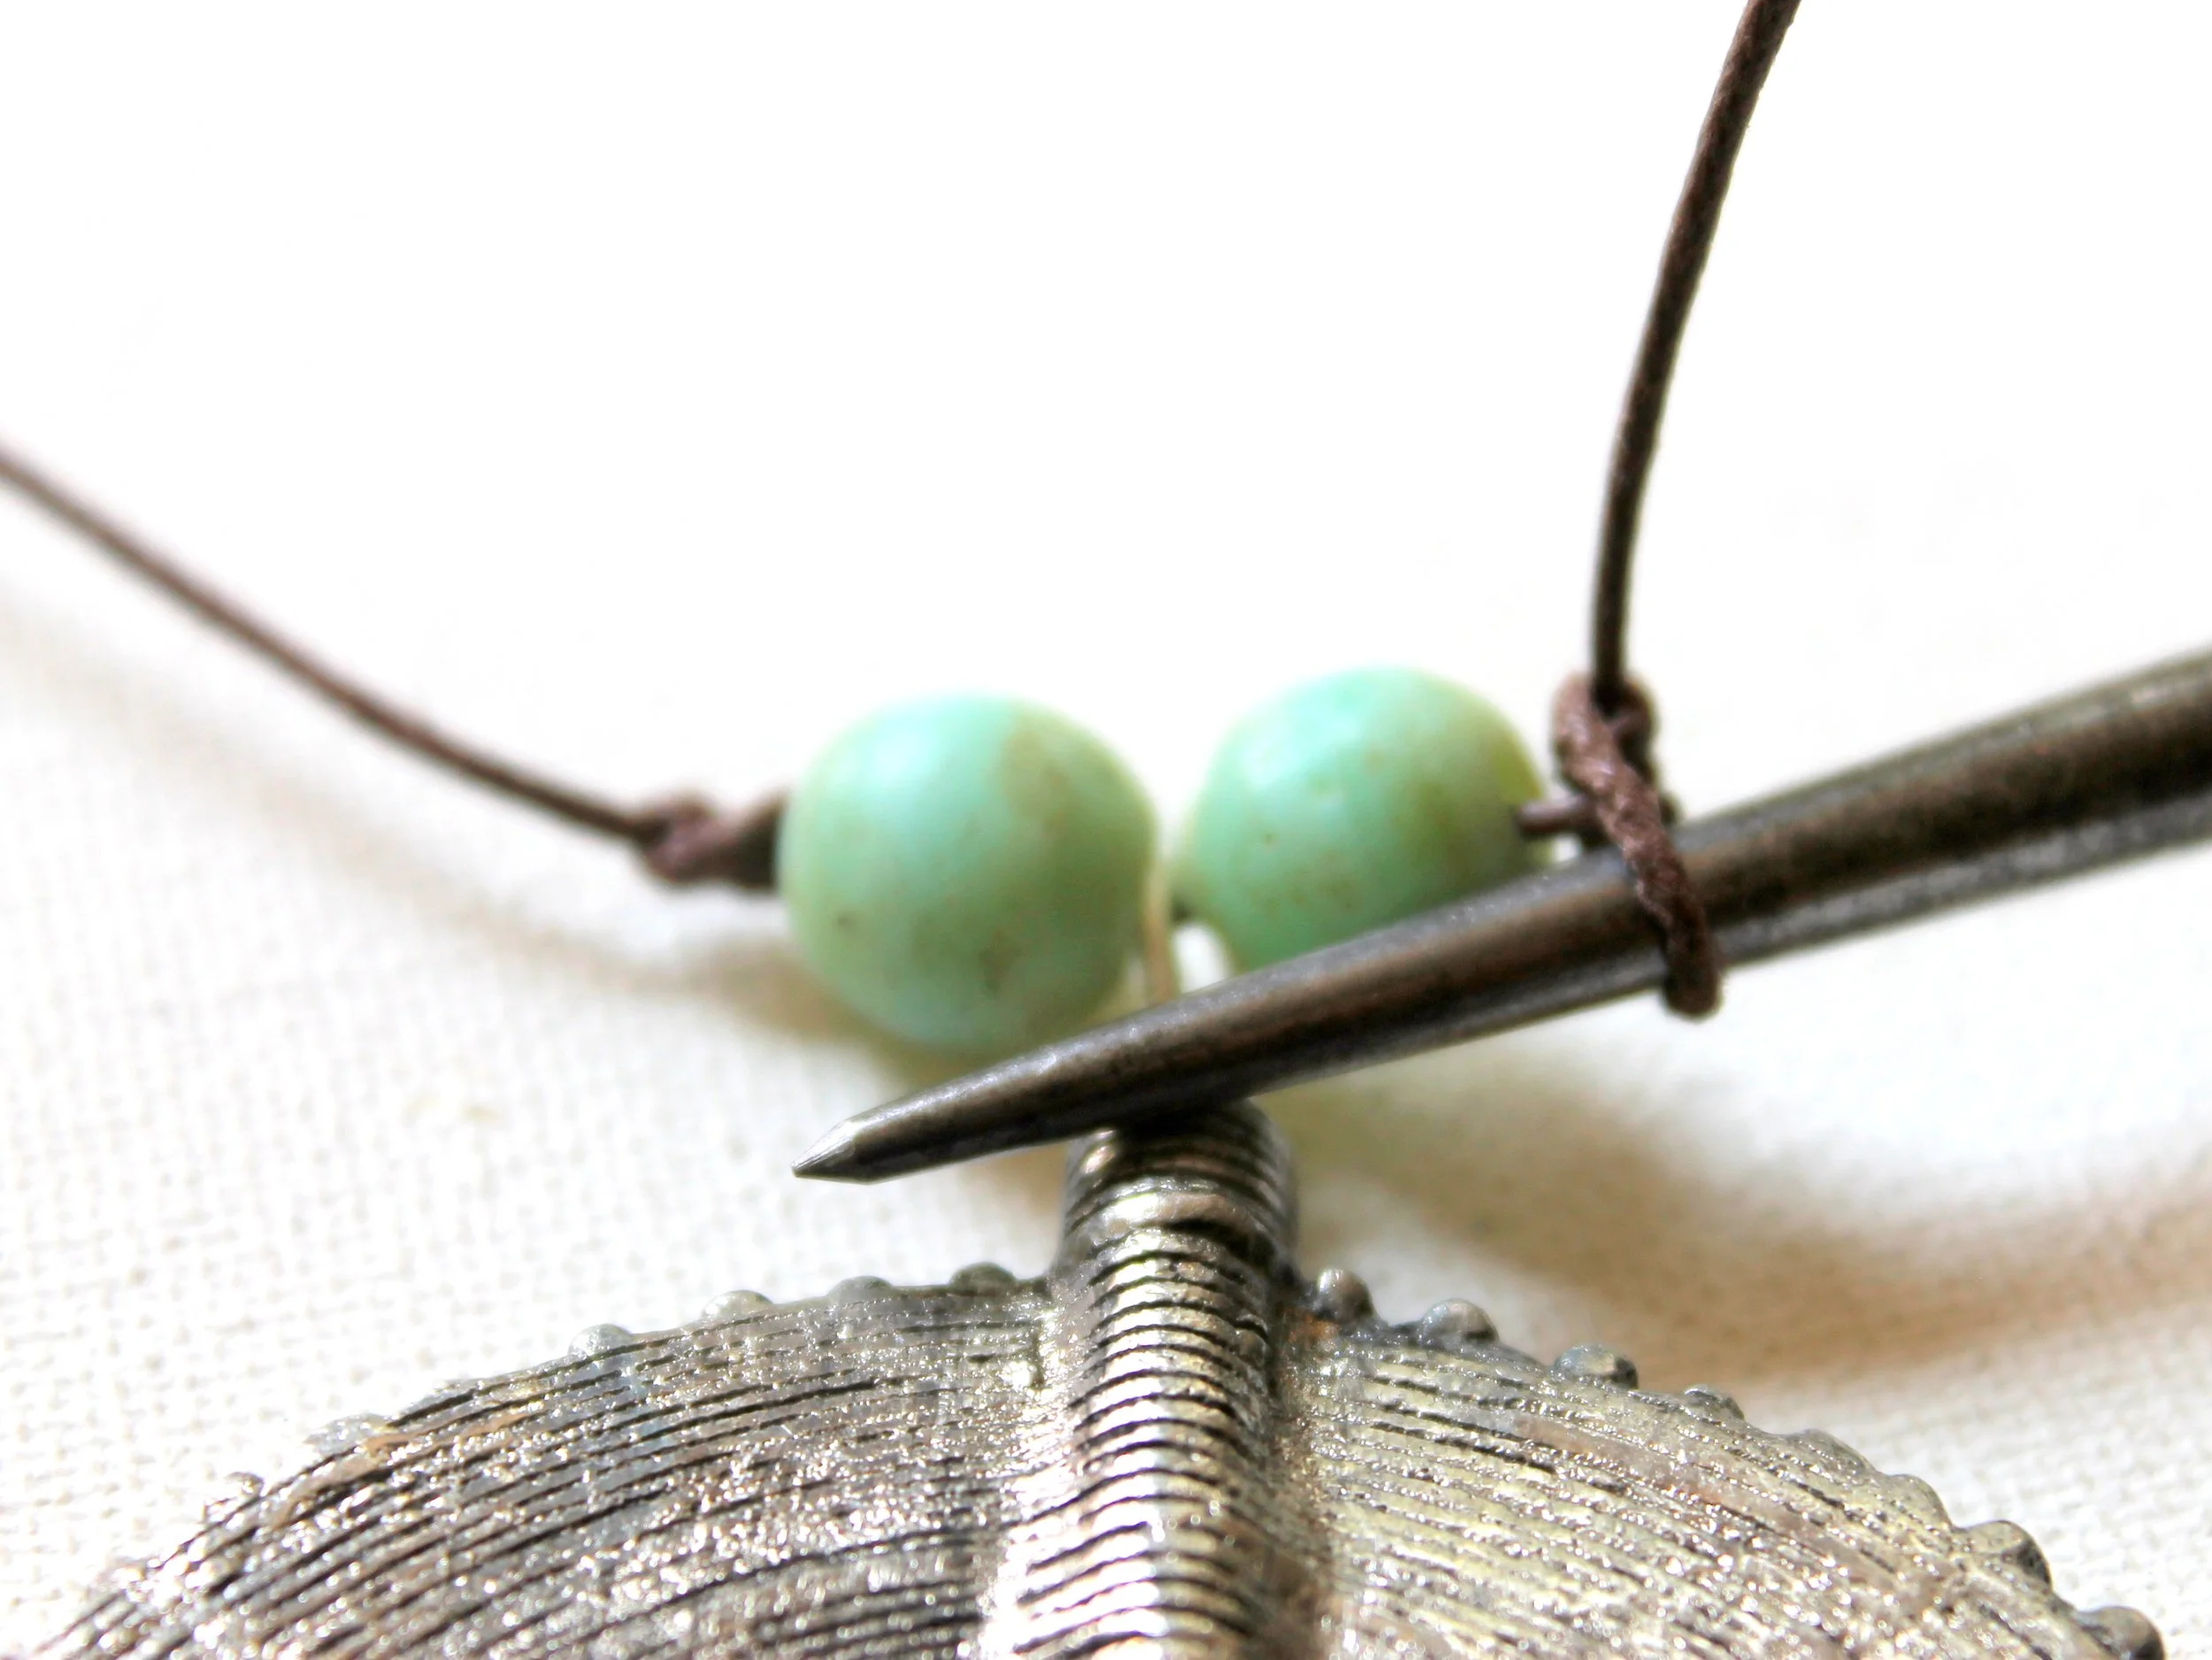
Step #1
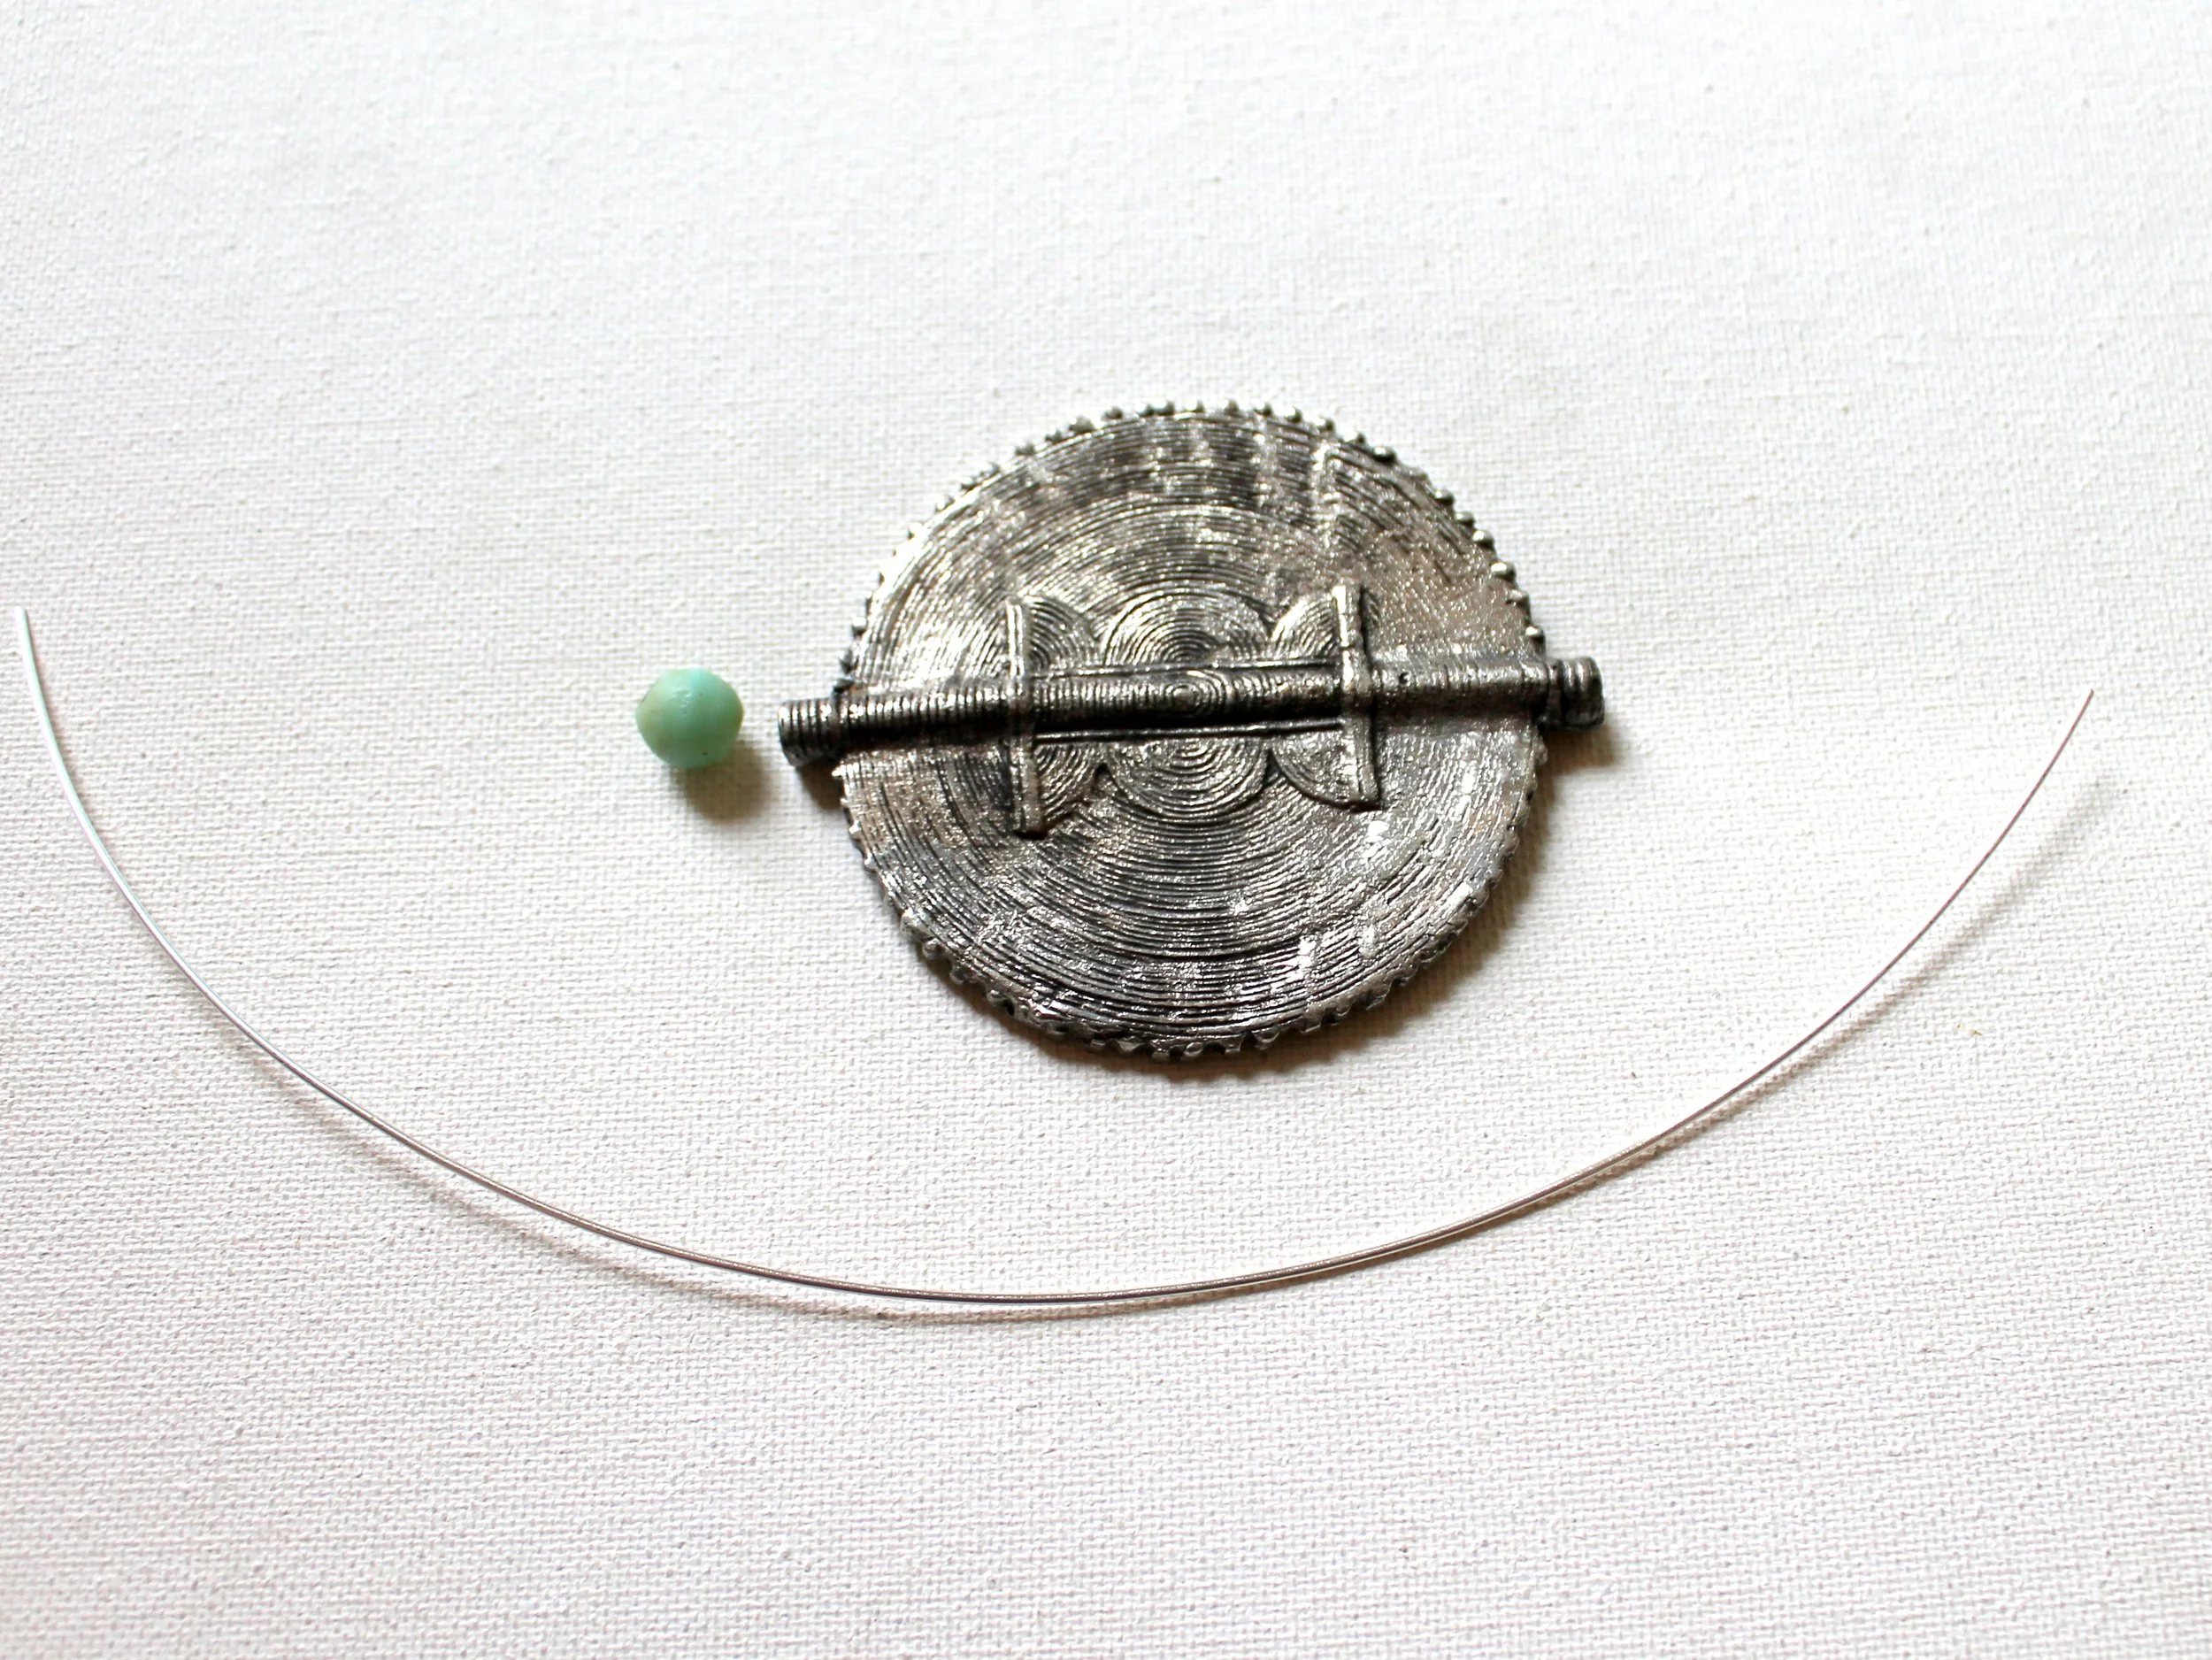
First we’ll make the pendant. I'm using the baule bead plus one of the java beads on the bottom.
Cut a piece of 18 gauge wire a few inches longer than the pendant and bead on each side.
Step #2

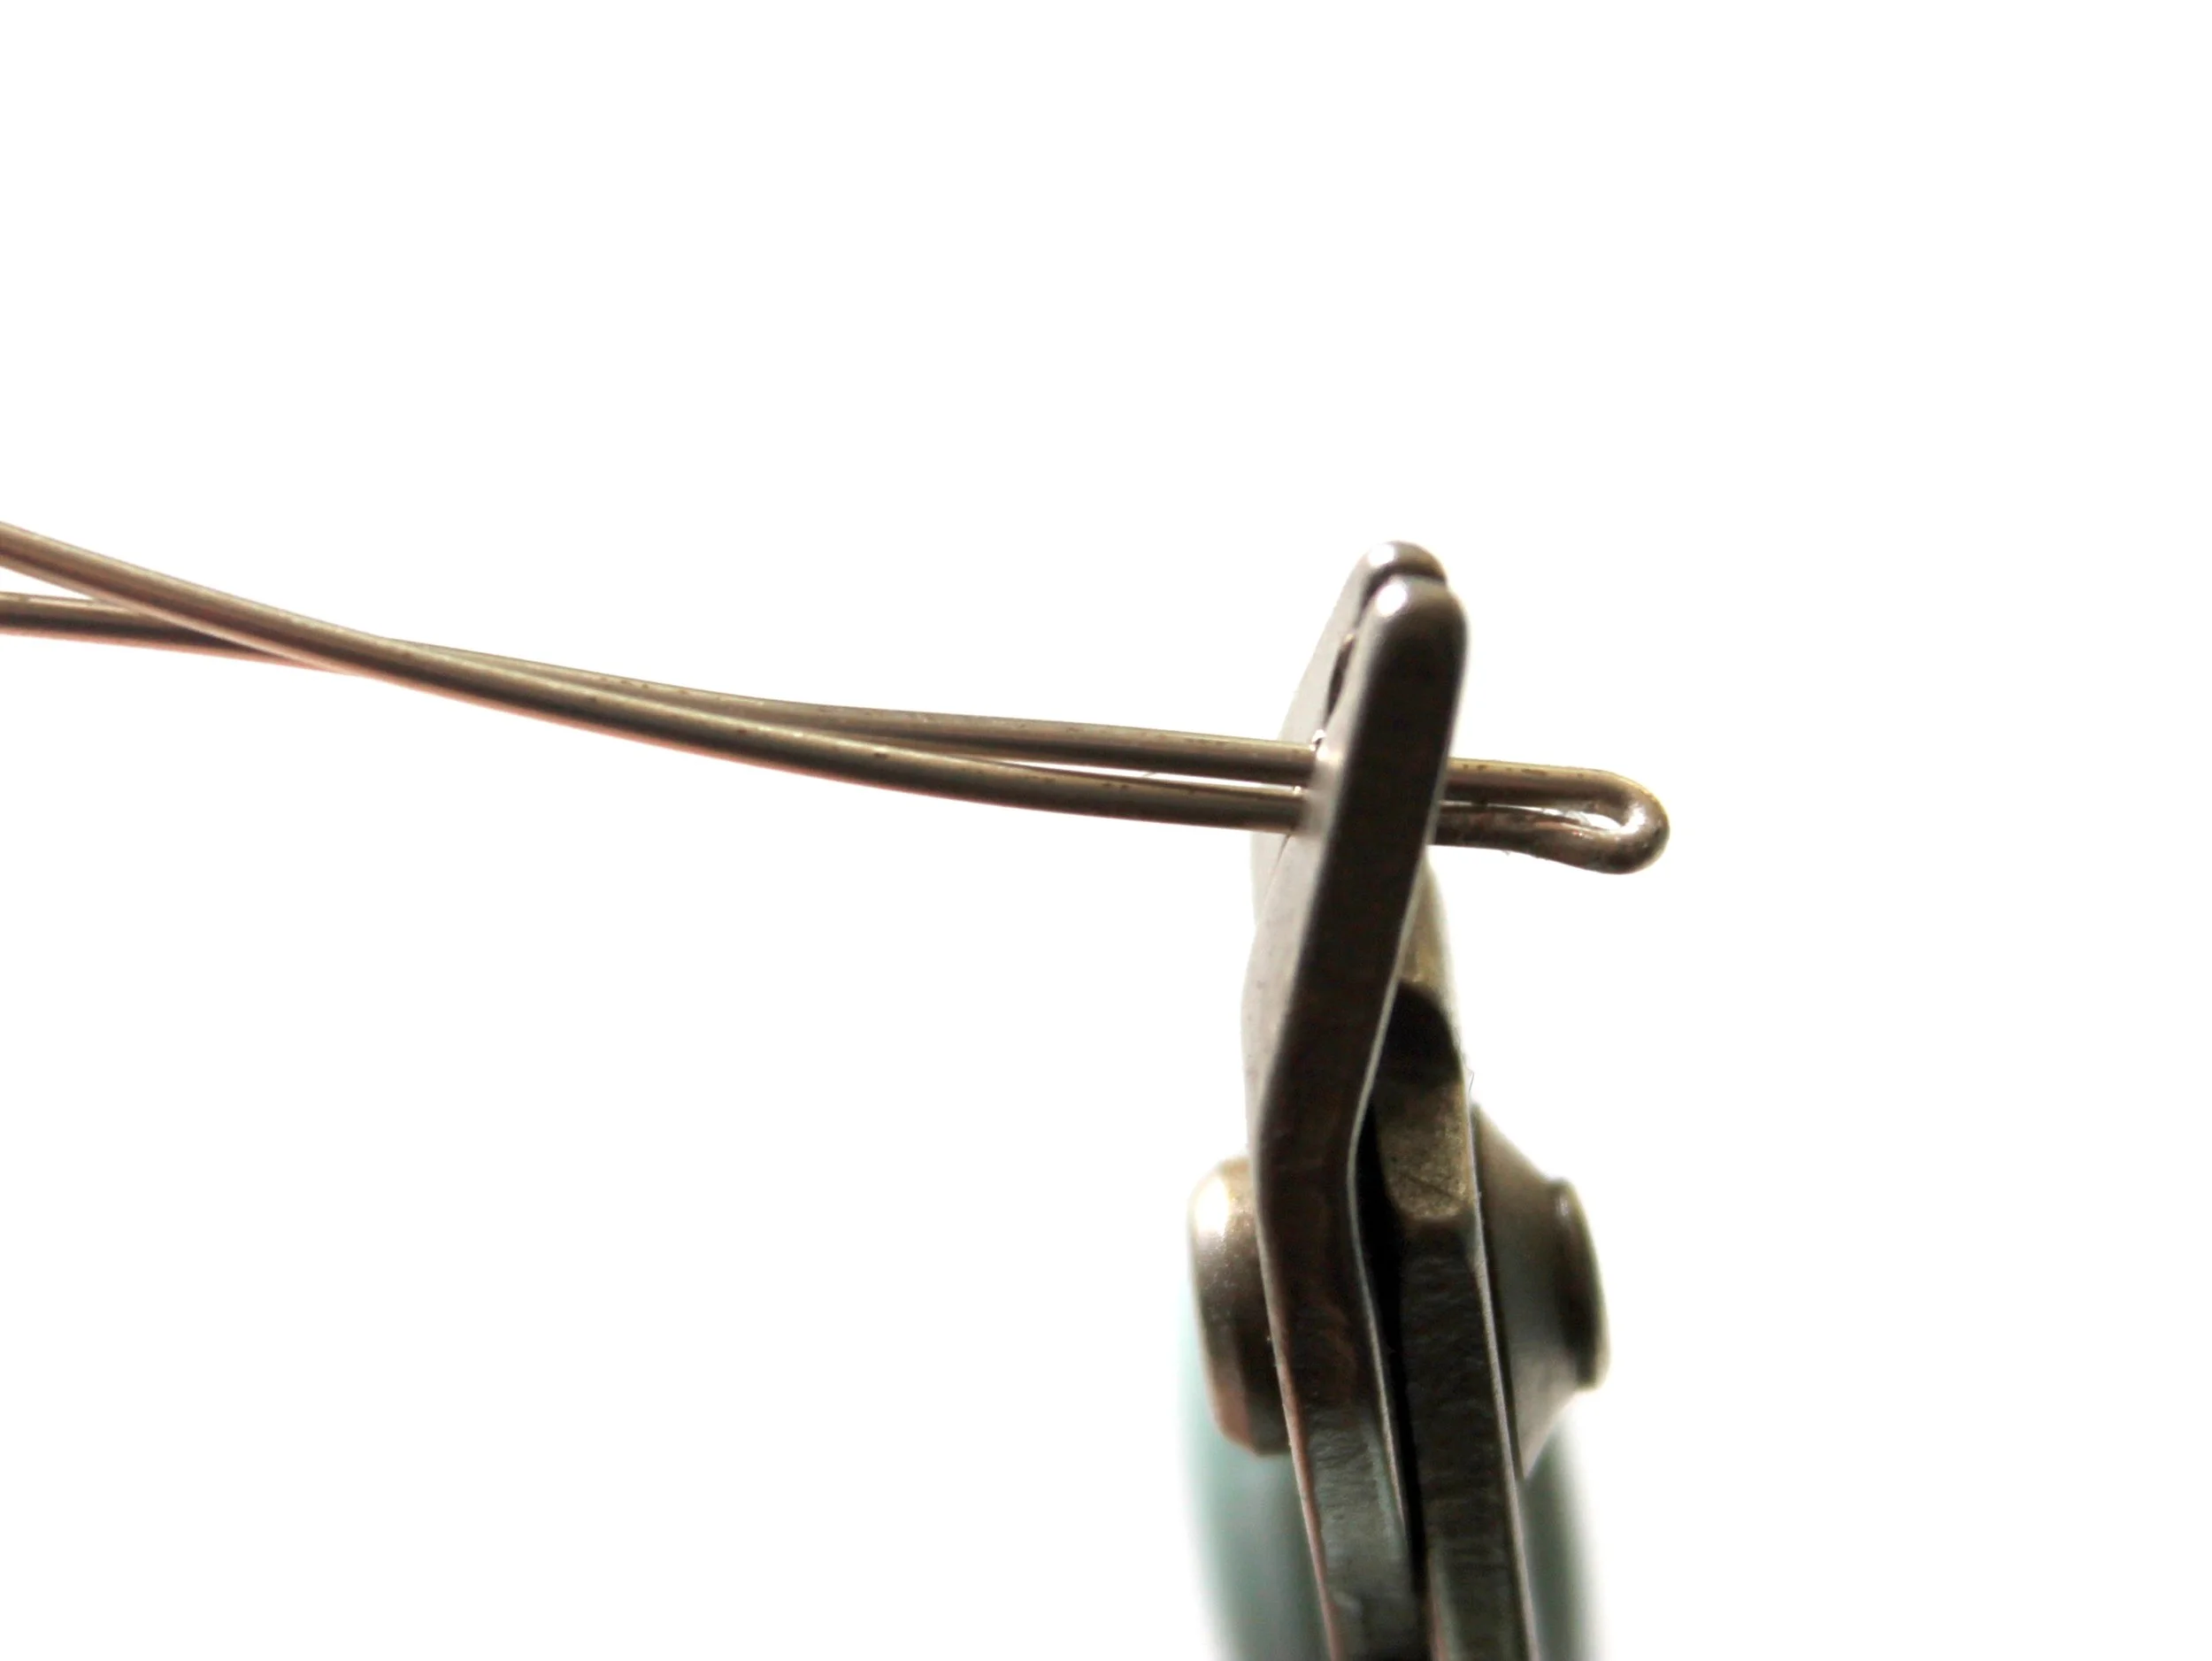
Approximately 1 1/2 inches from one end, bend the wire.
Pinch down the end. (Hint: Use a crimp tool to do this if you have one to make it a little easier. If not, use your chain nose pliers.)
Step #3
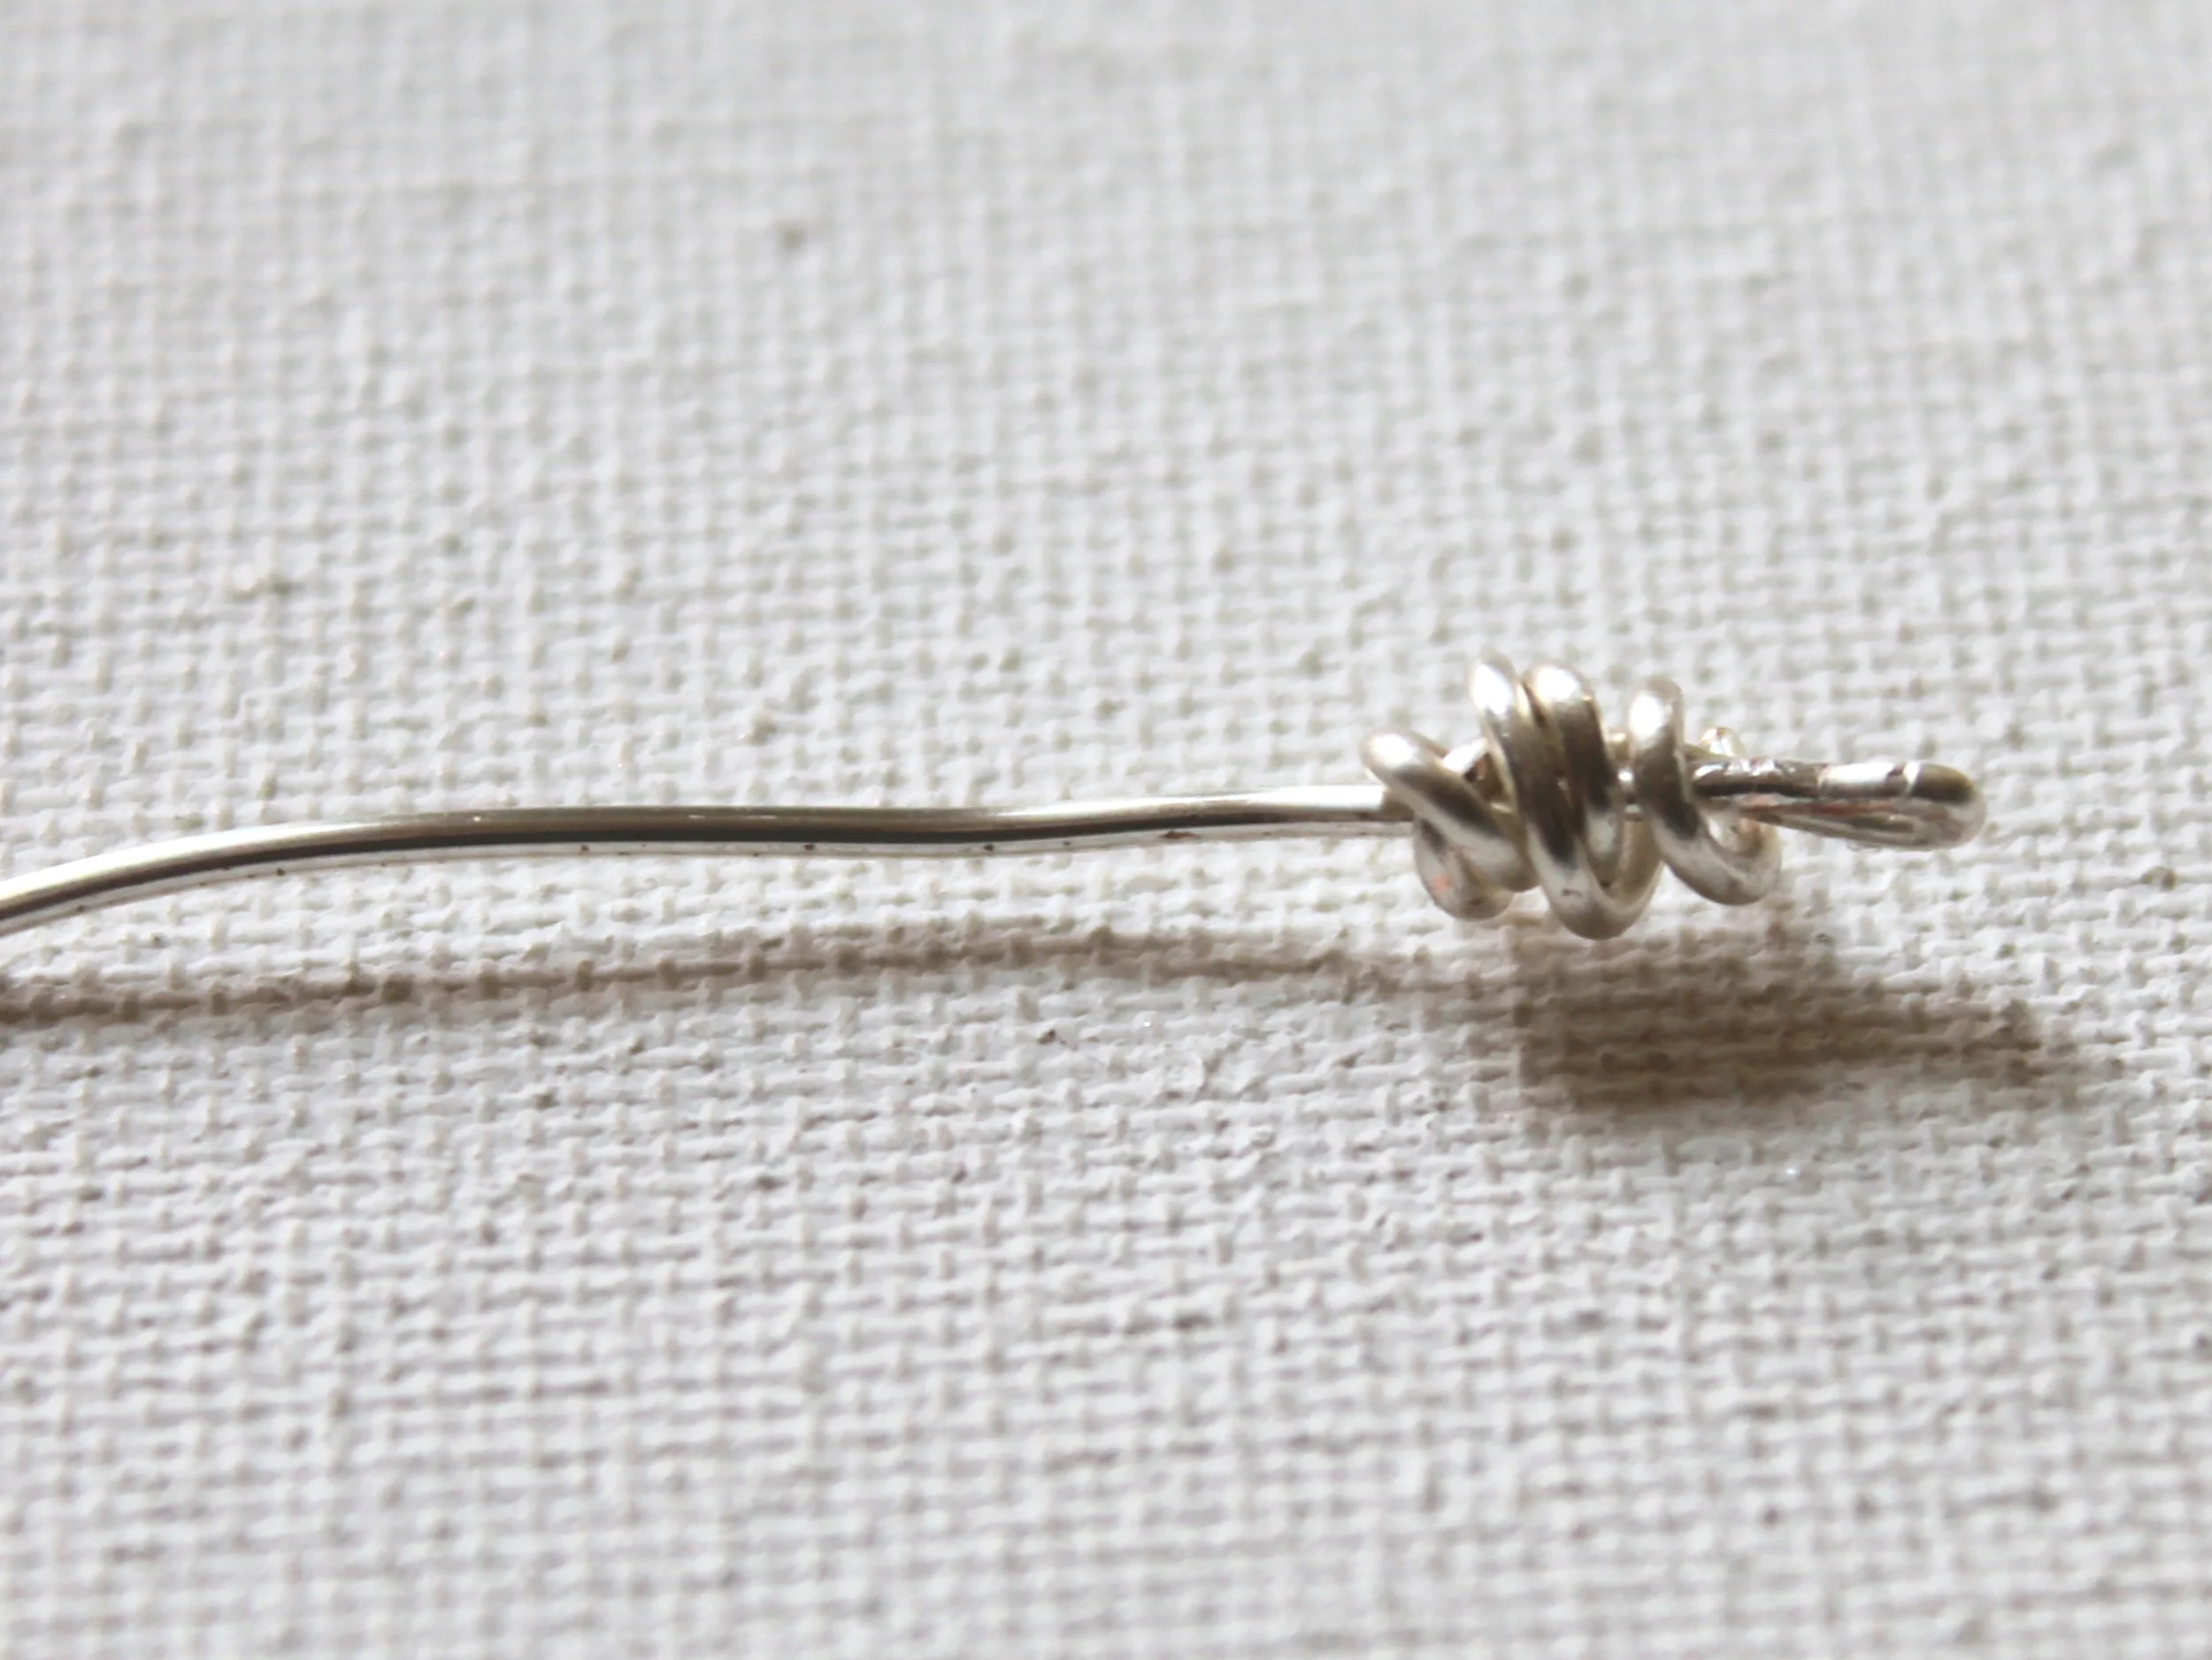
Leave a bit at the end and bend the shorter wire up.Then wrap the wire around the end creating a "knot." You're not actually making a knot. Just wrap the wire around to give it the look of a knot.
I like to make the wraps messy, but you could make them neat if you prefer.
Step #4
Pull the wire through the beads.
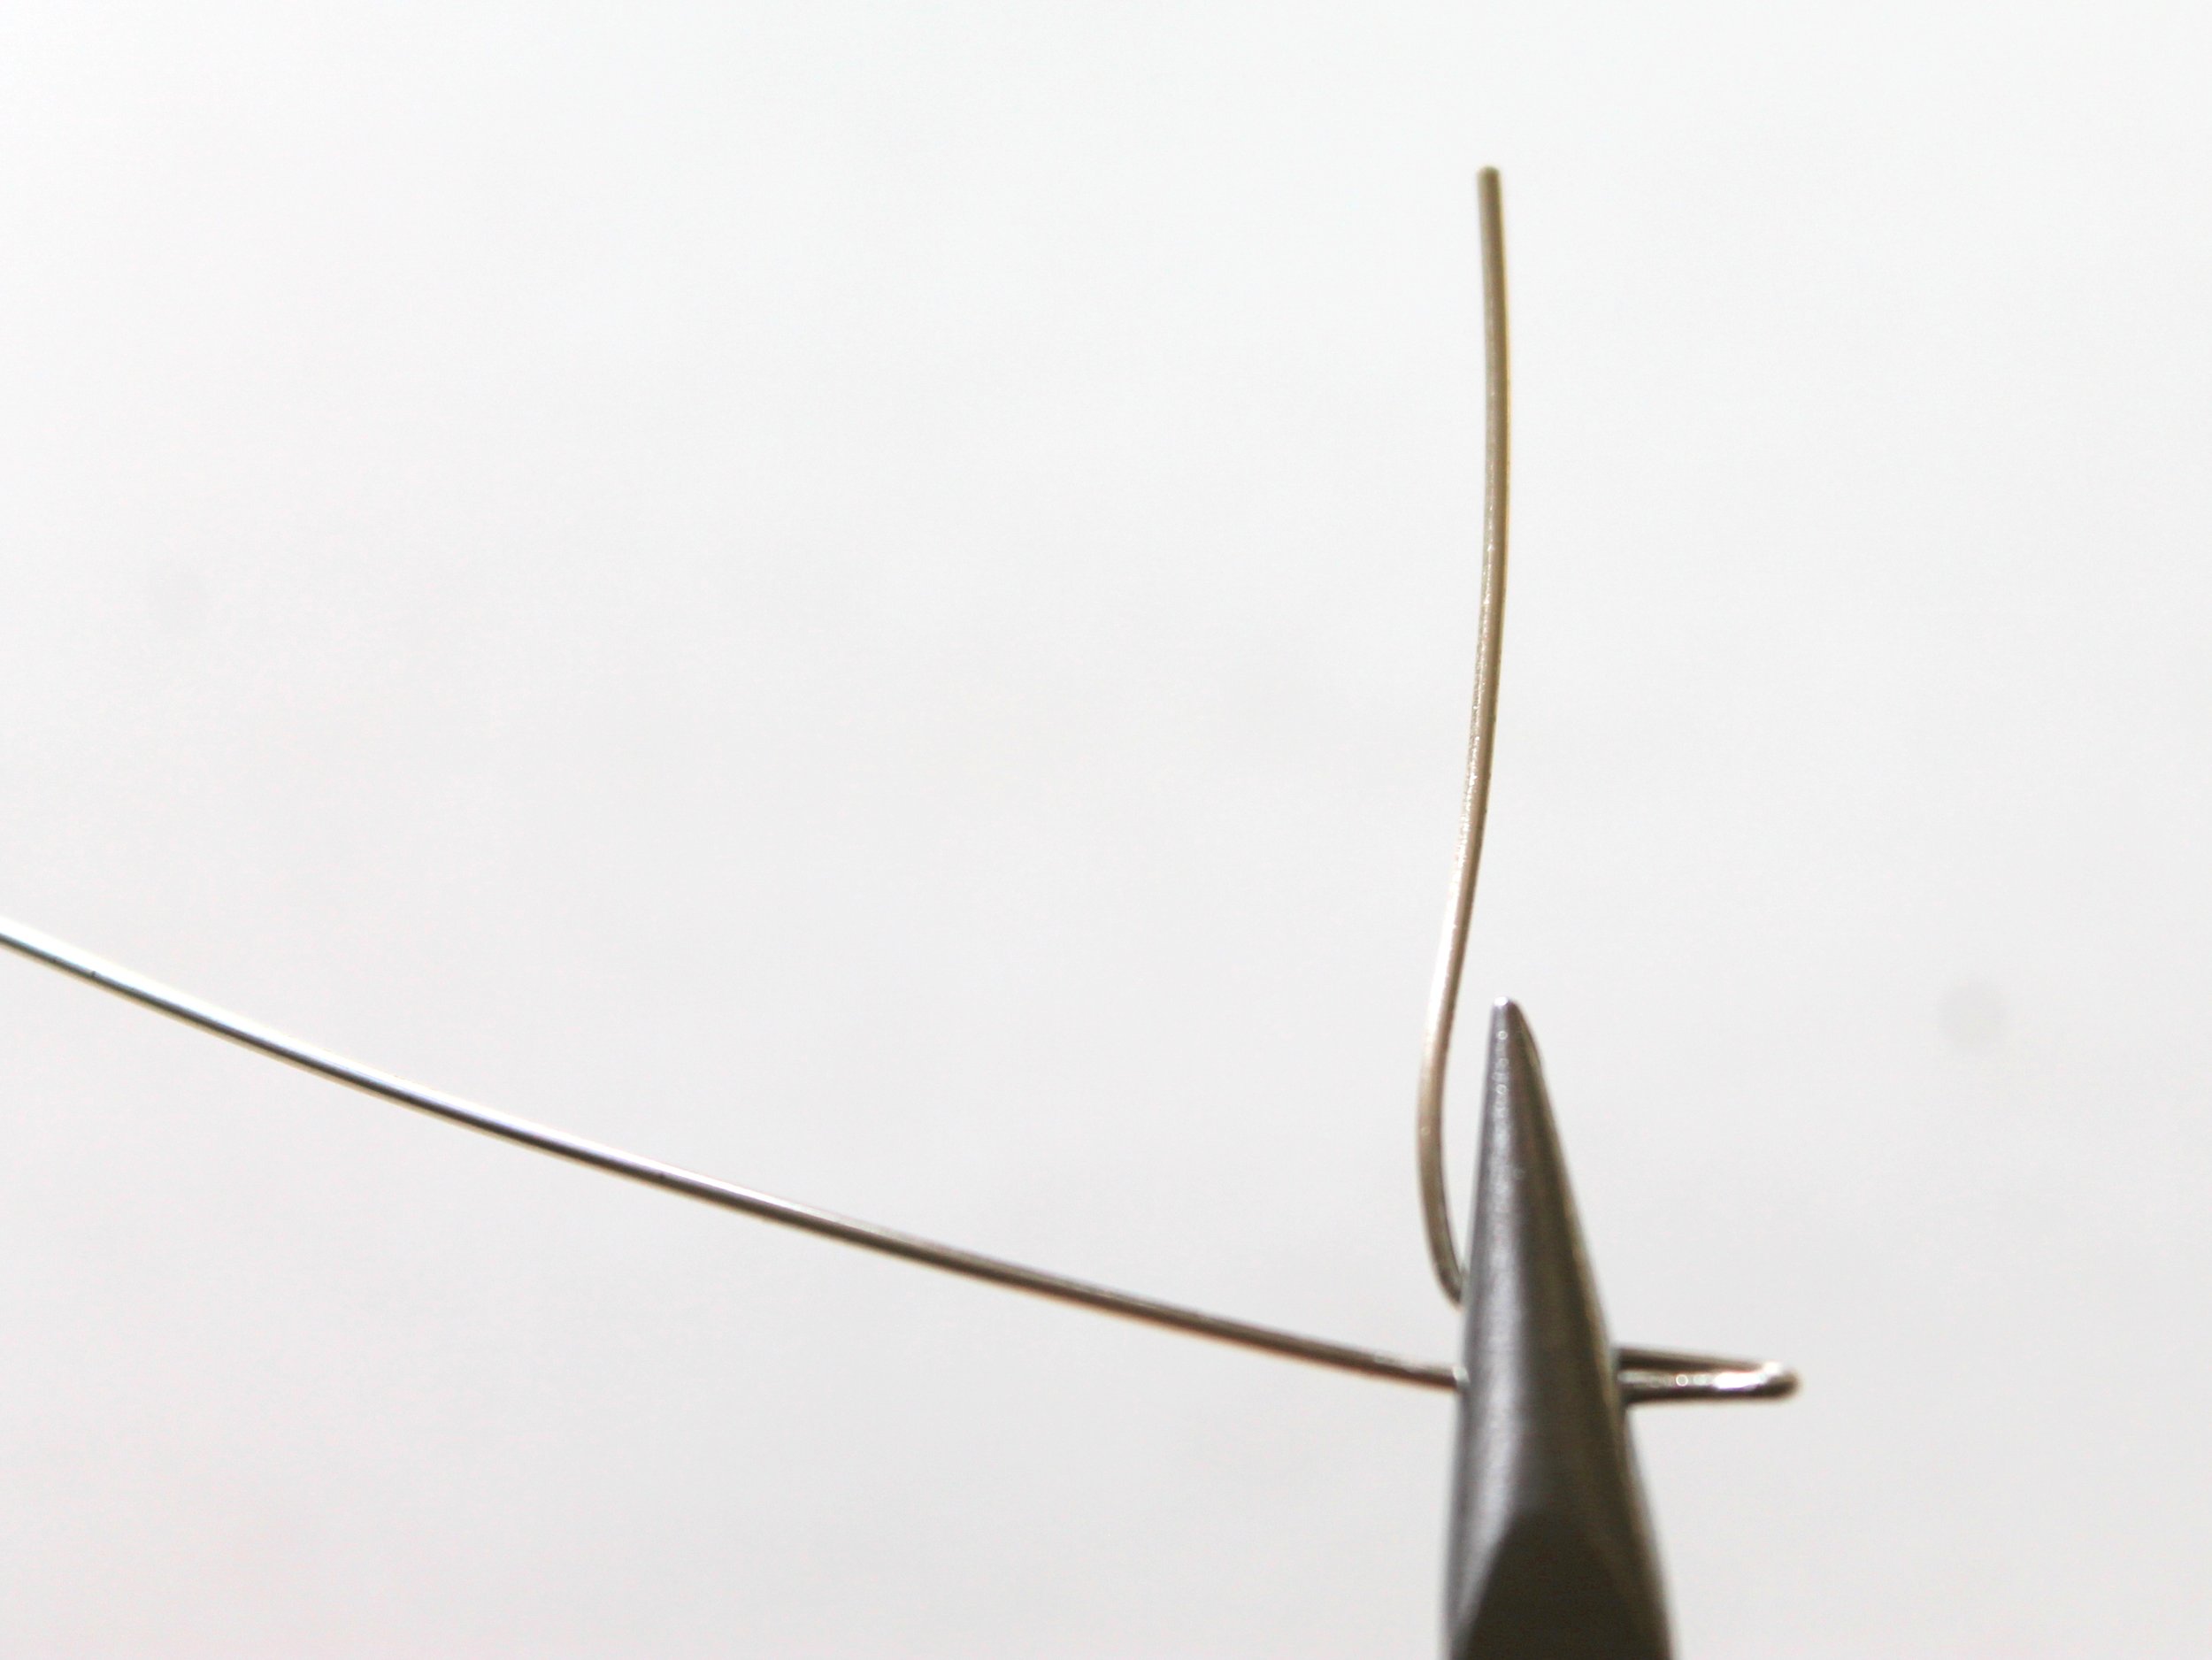
Step #5
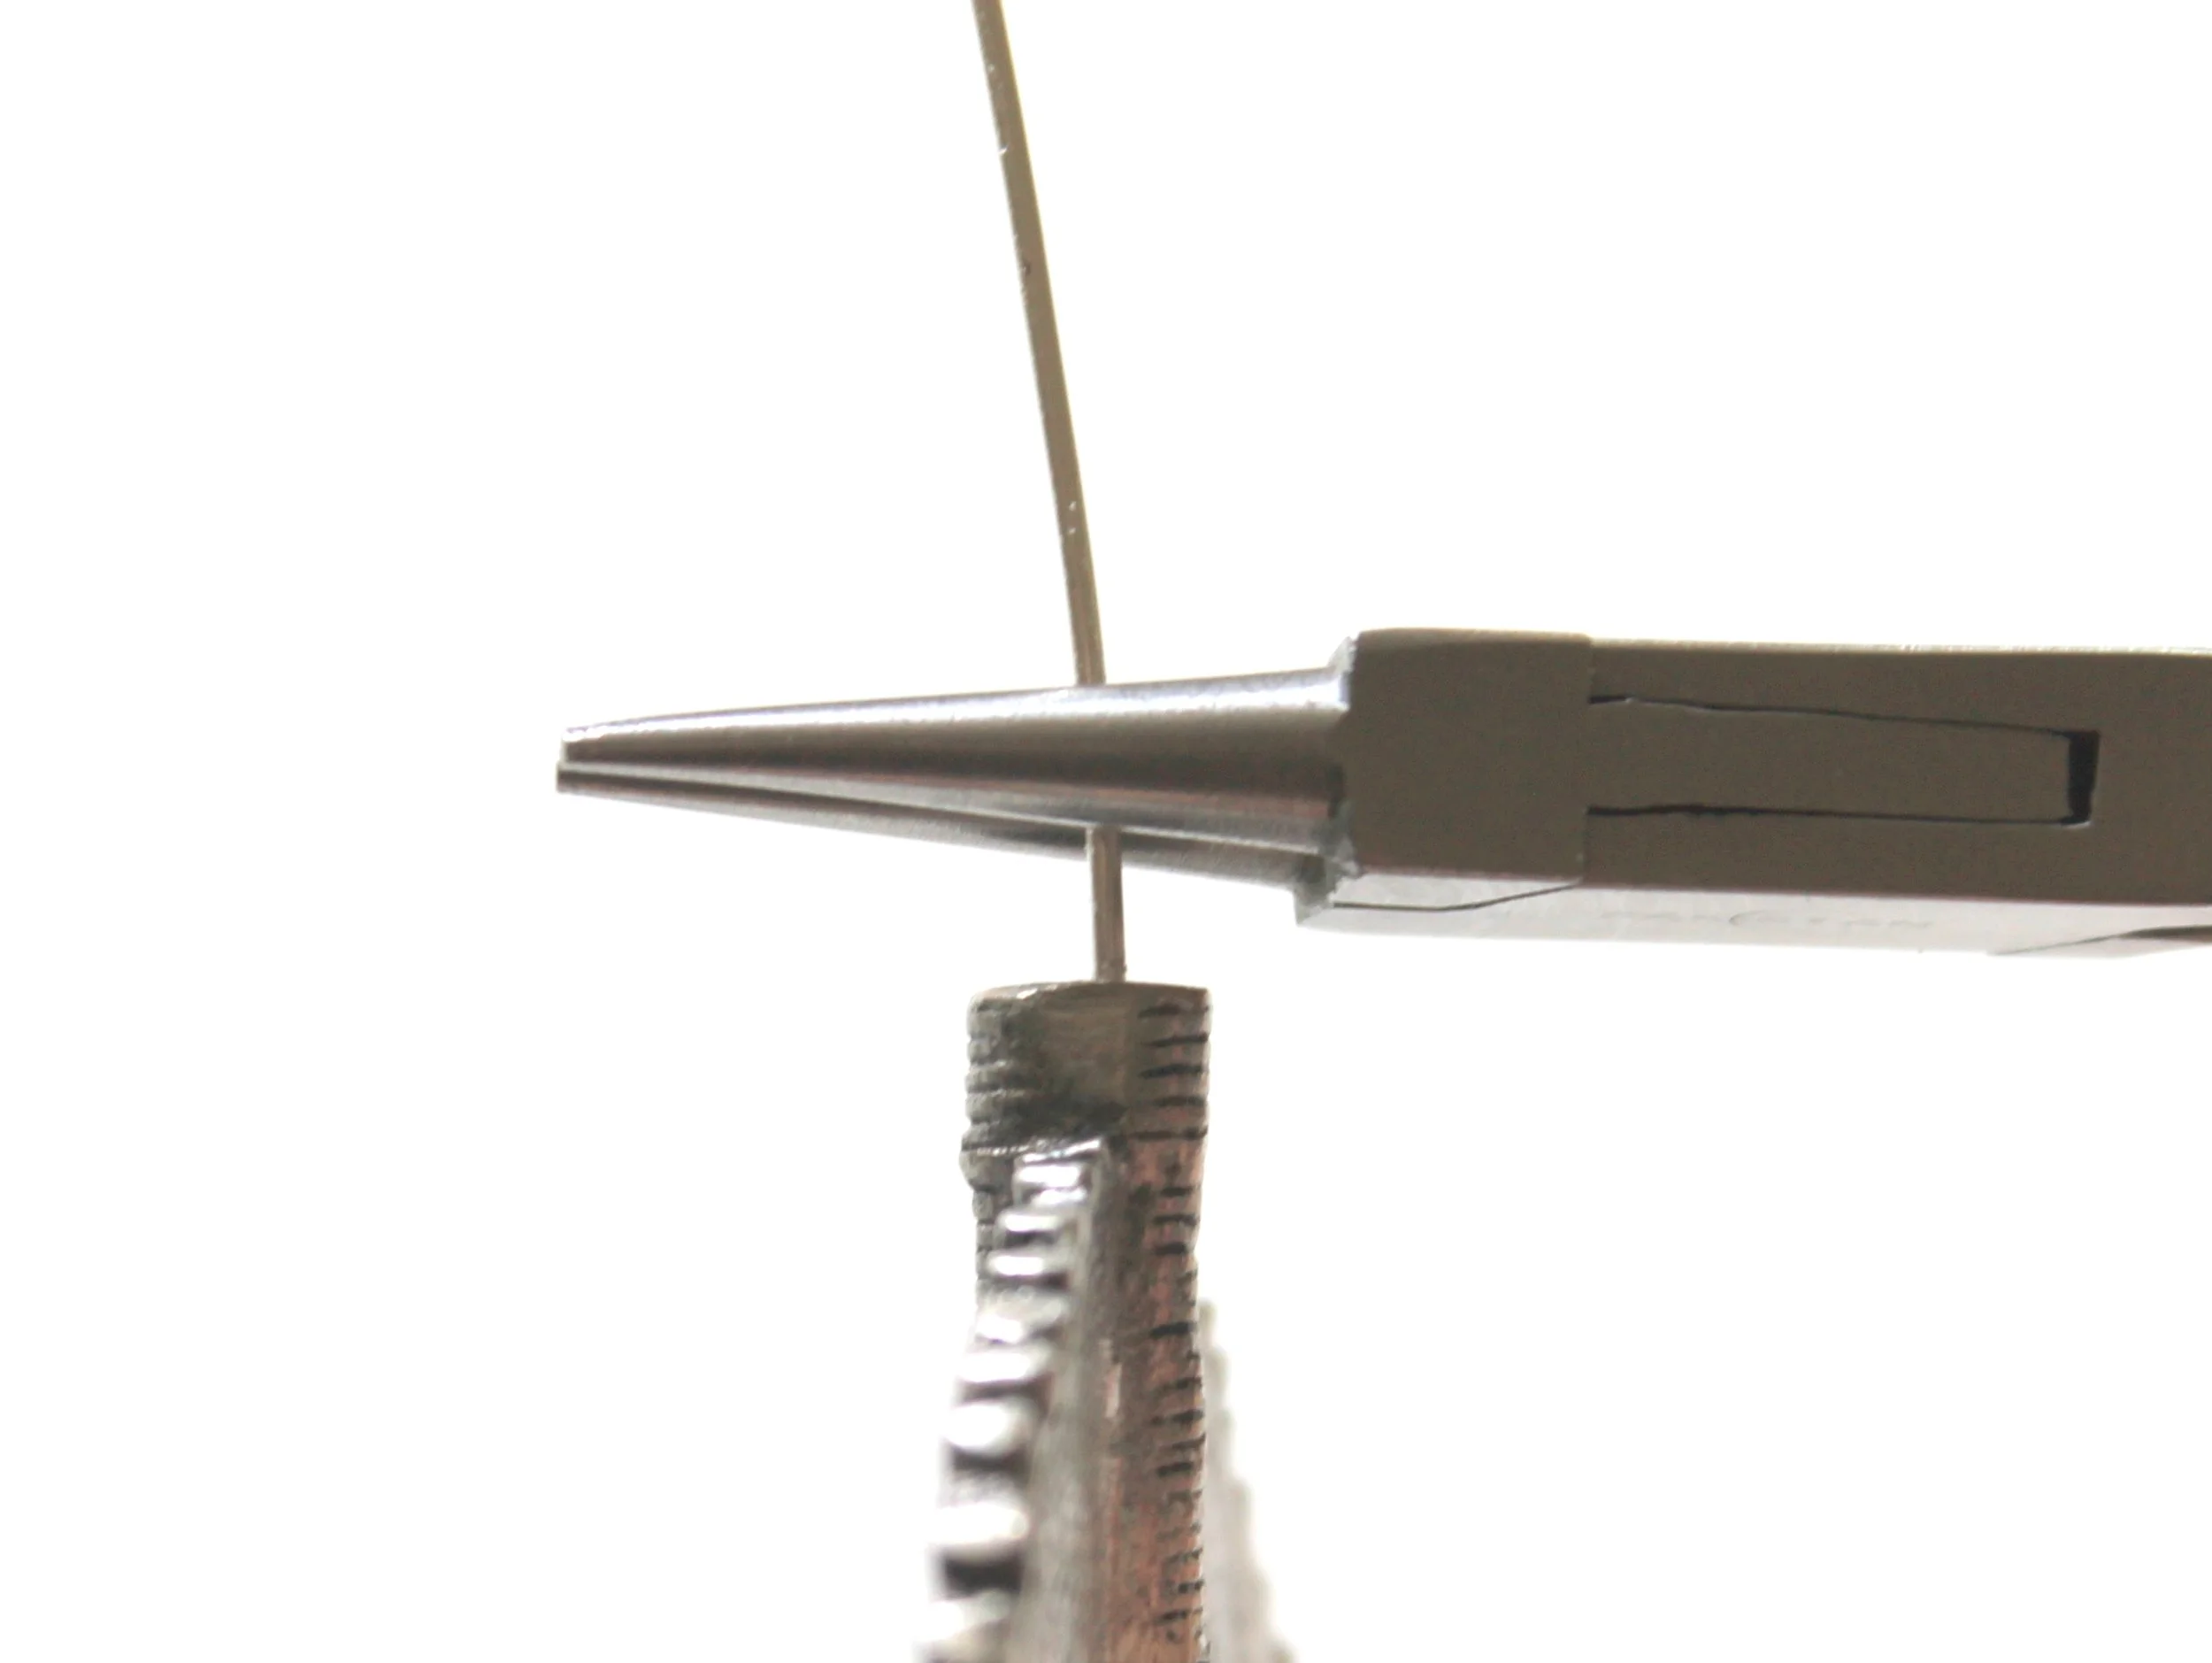
Hold the wire about 1/4 inch above the baule bead in round nose pliers. Wrap the wire around to form a loop.
Note: I found it easier to rest the bead on my worktable because of the weight of the bead.
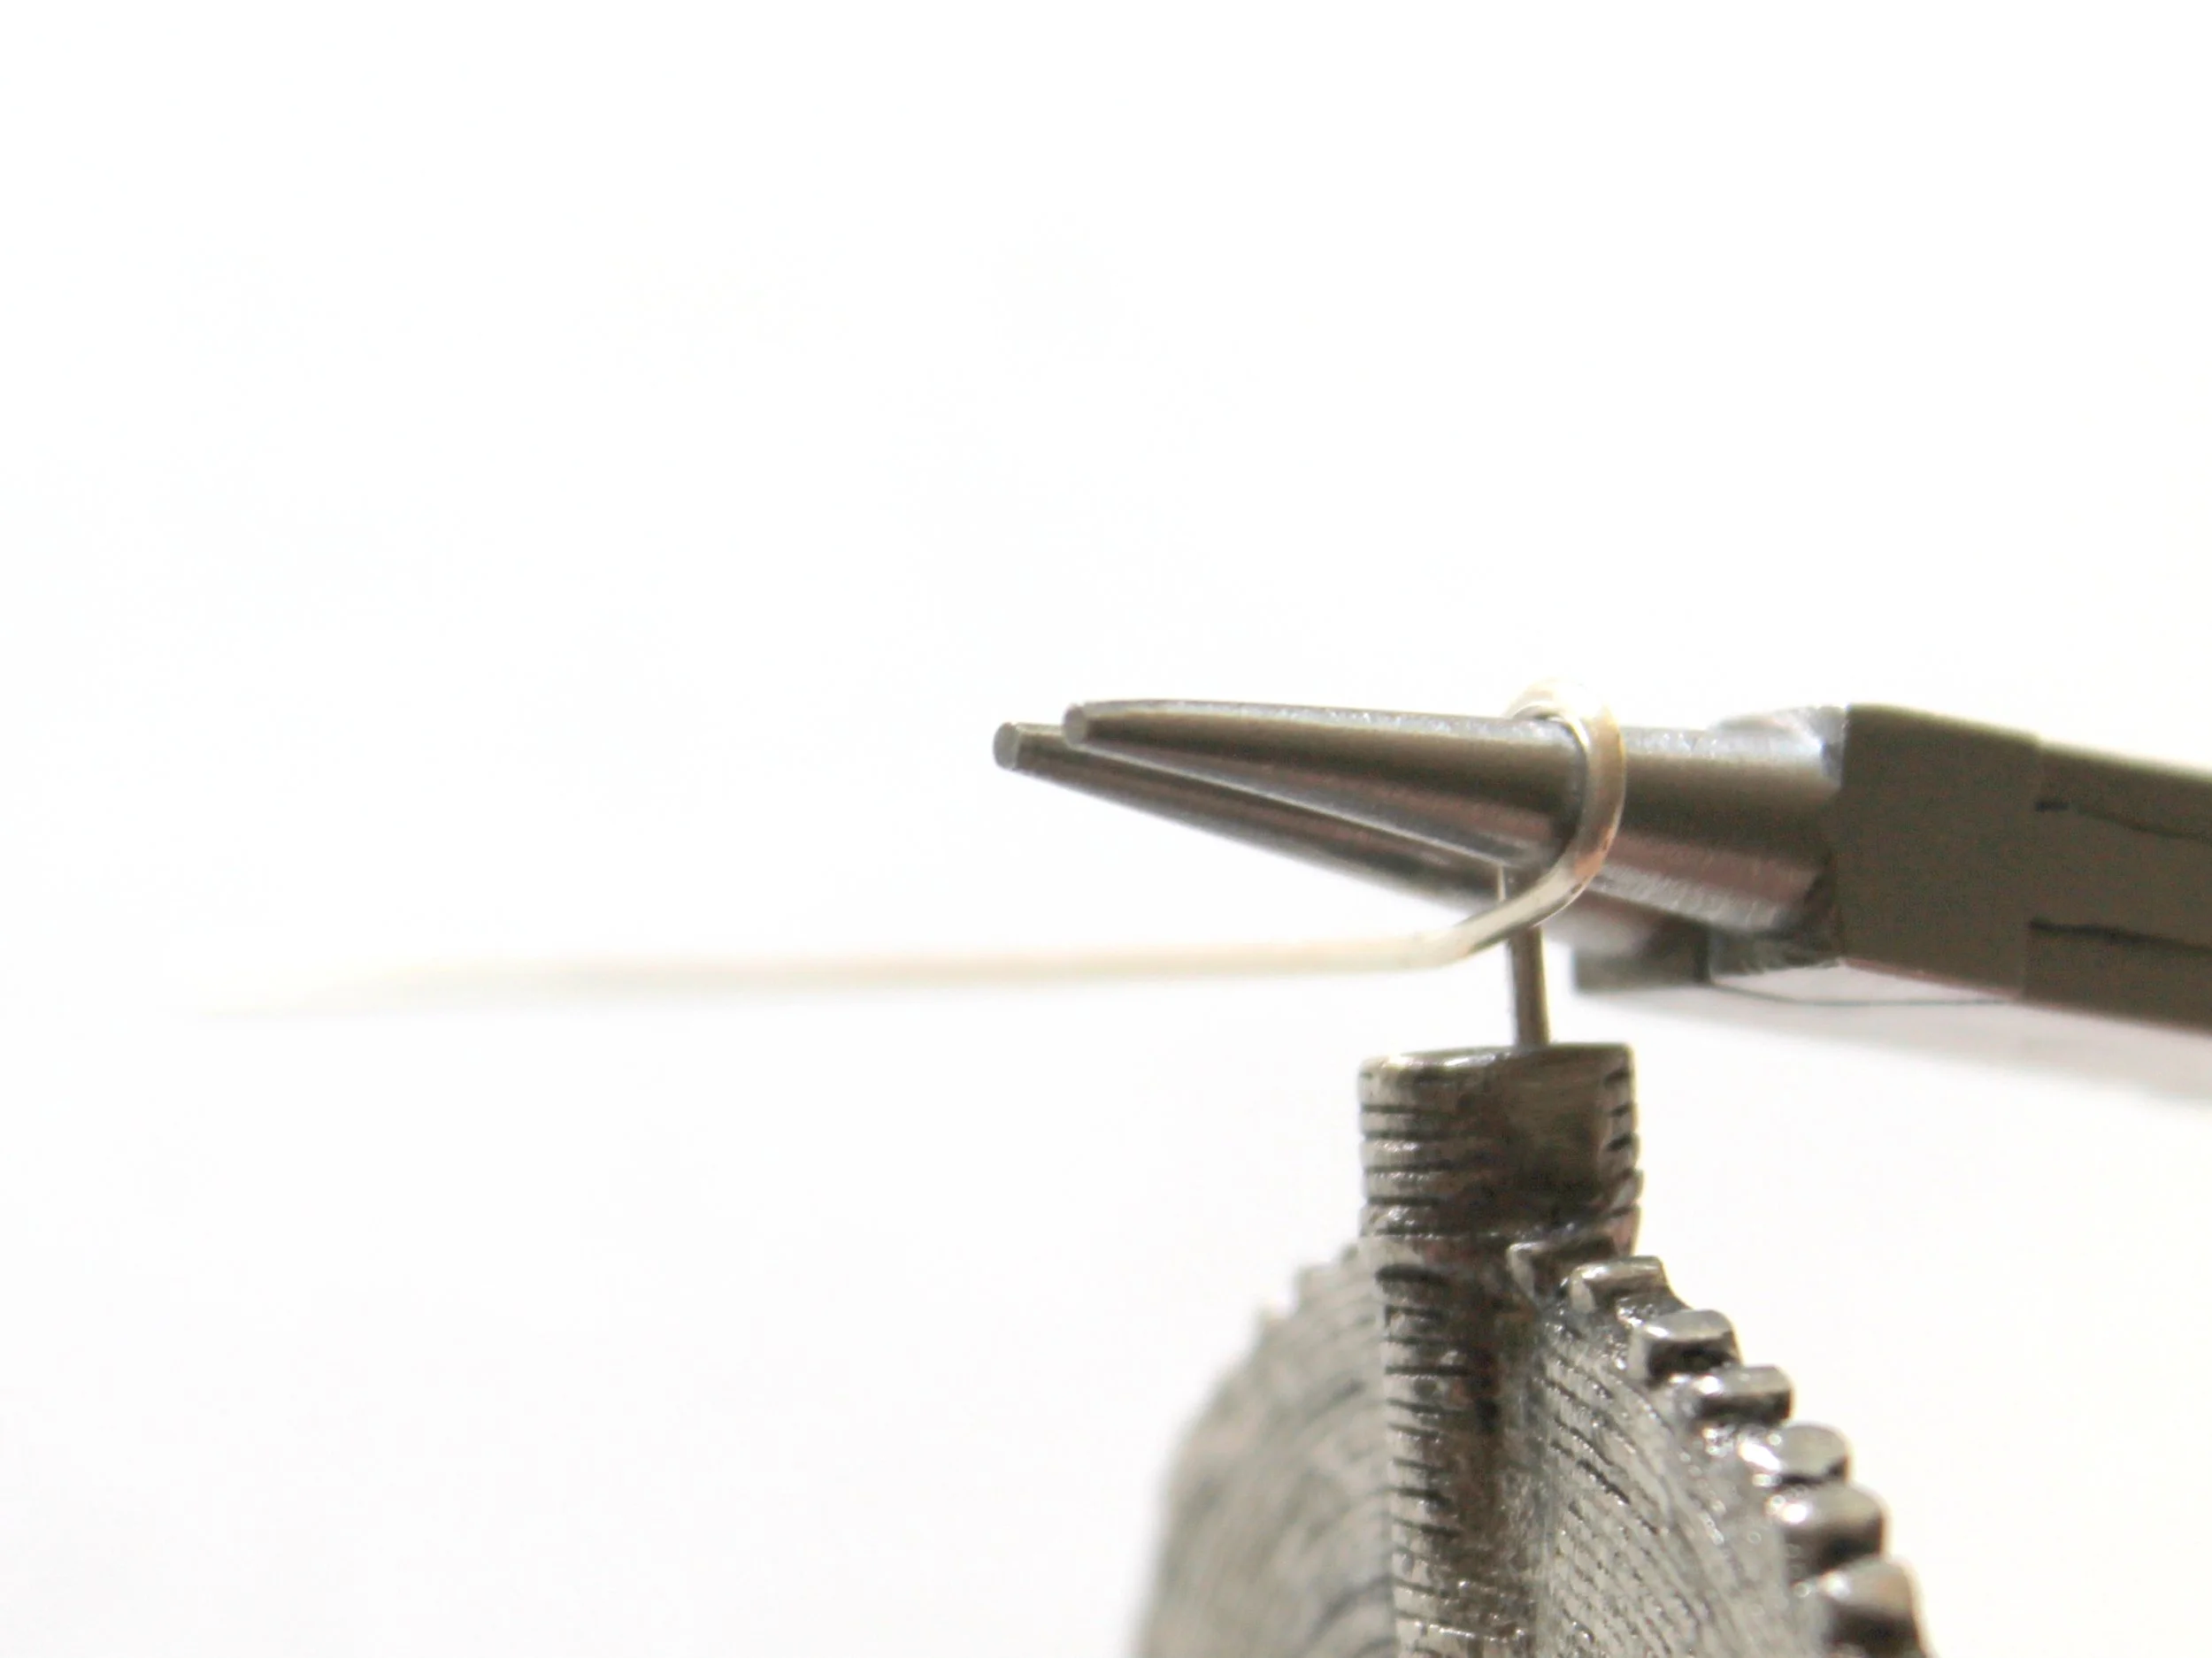
Step #6

Hold the loop you just made in chain nose pliers. Wrap around once while straightening out the bead so the loop is centered above the bead.
Then wrap around 2 more times.
Trim off the excess wire making a flush cut and make sure the end is not poking out.
Now you have a pendant to use in your necklace.
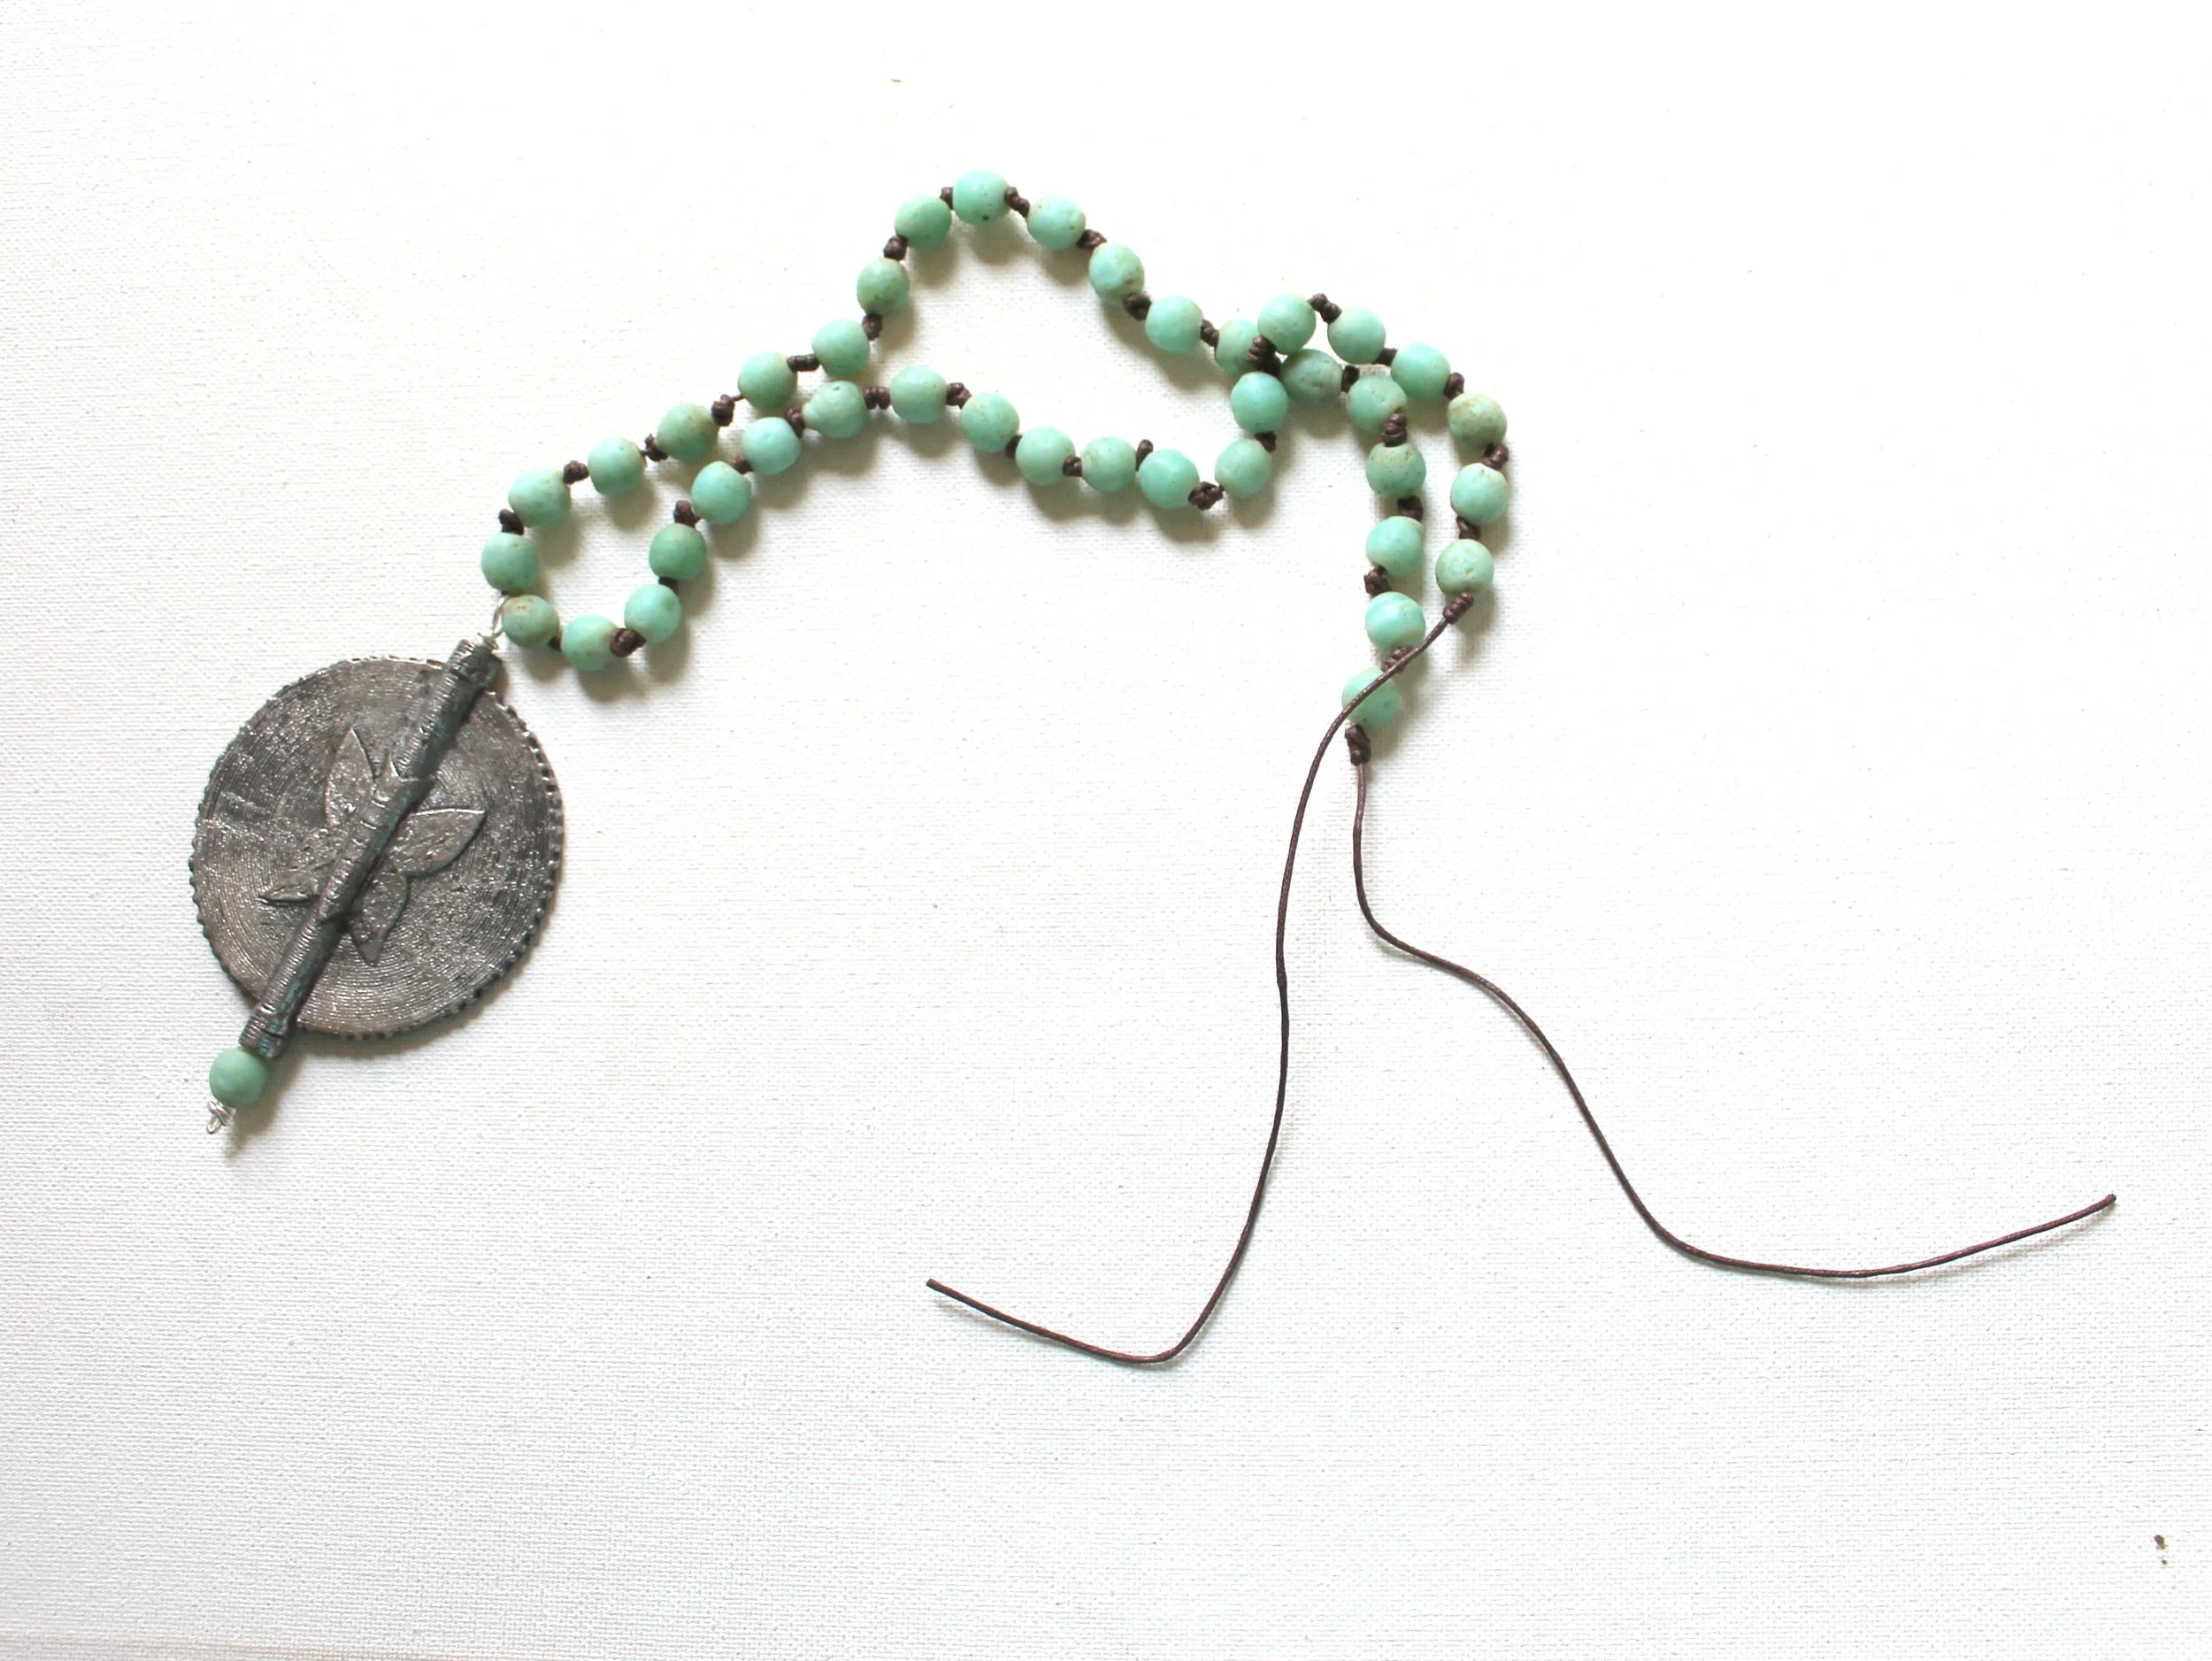
Step #7
Cut about 4 times the amount of cord that you want your finished necklace to be. For example, if you would like a 20 inch necklace, cut about 80 inches.
I used the brown cord.
Step #8
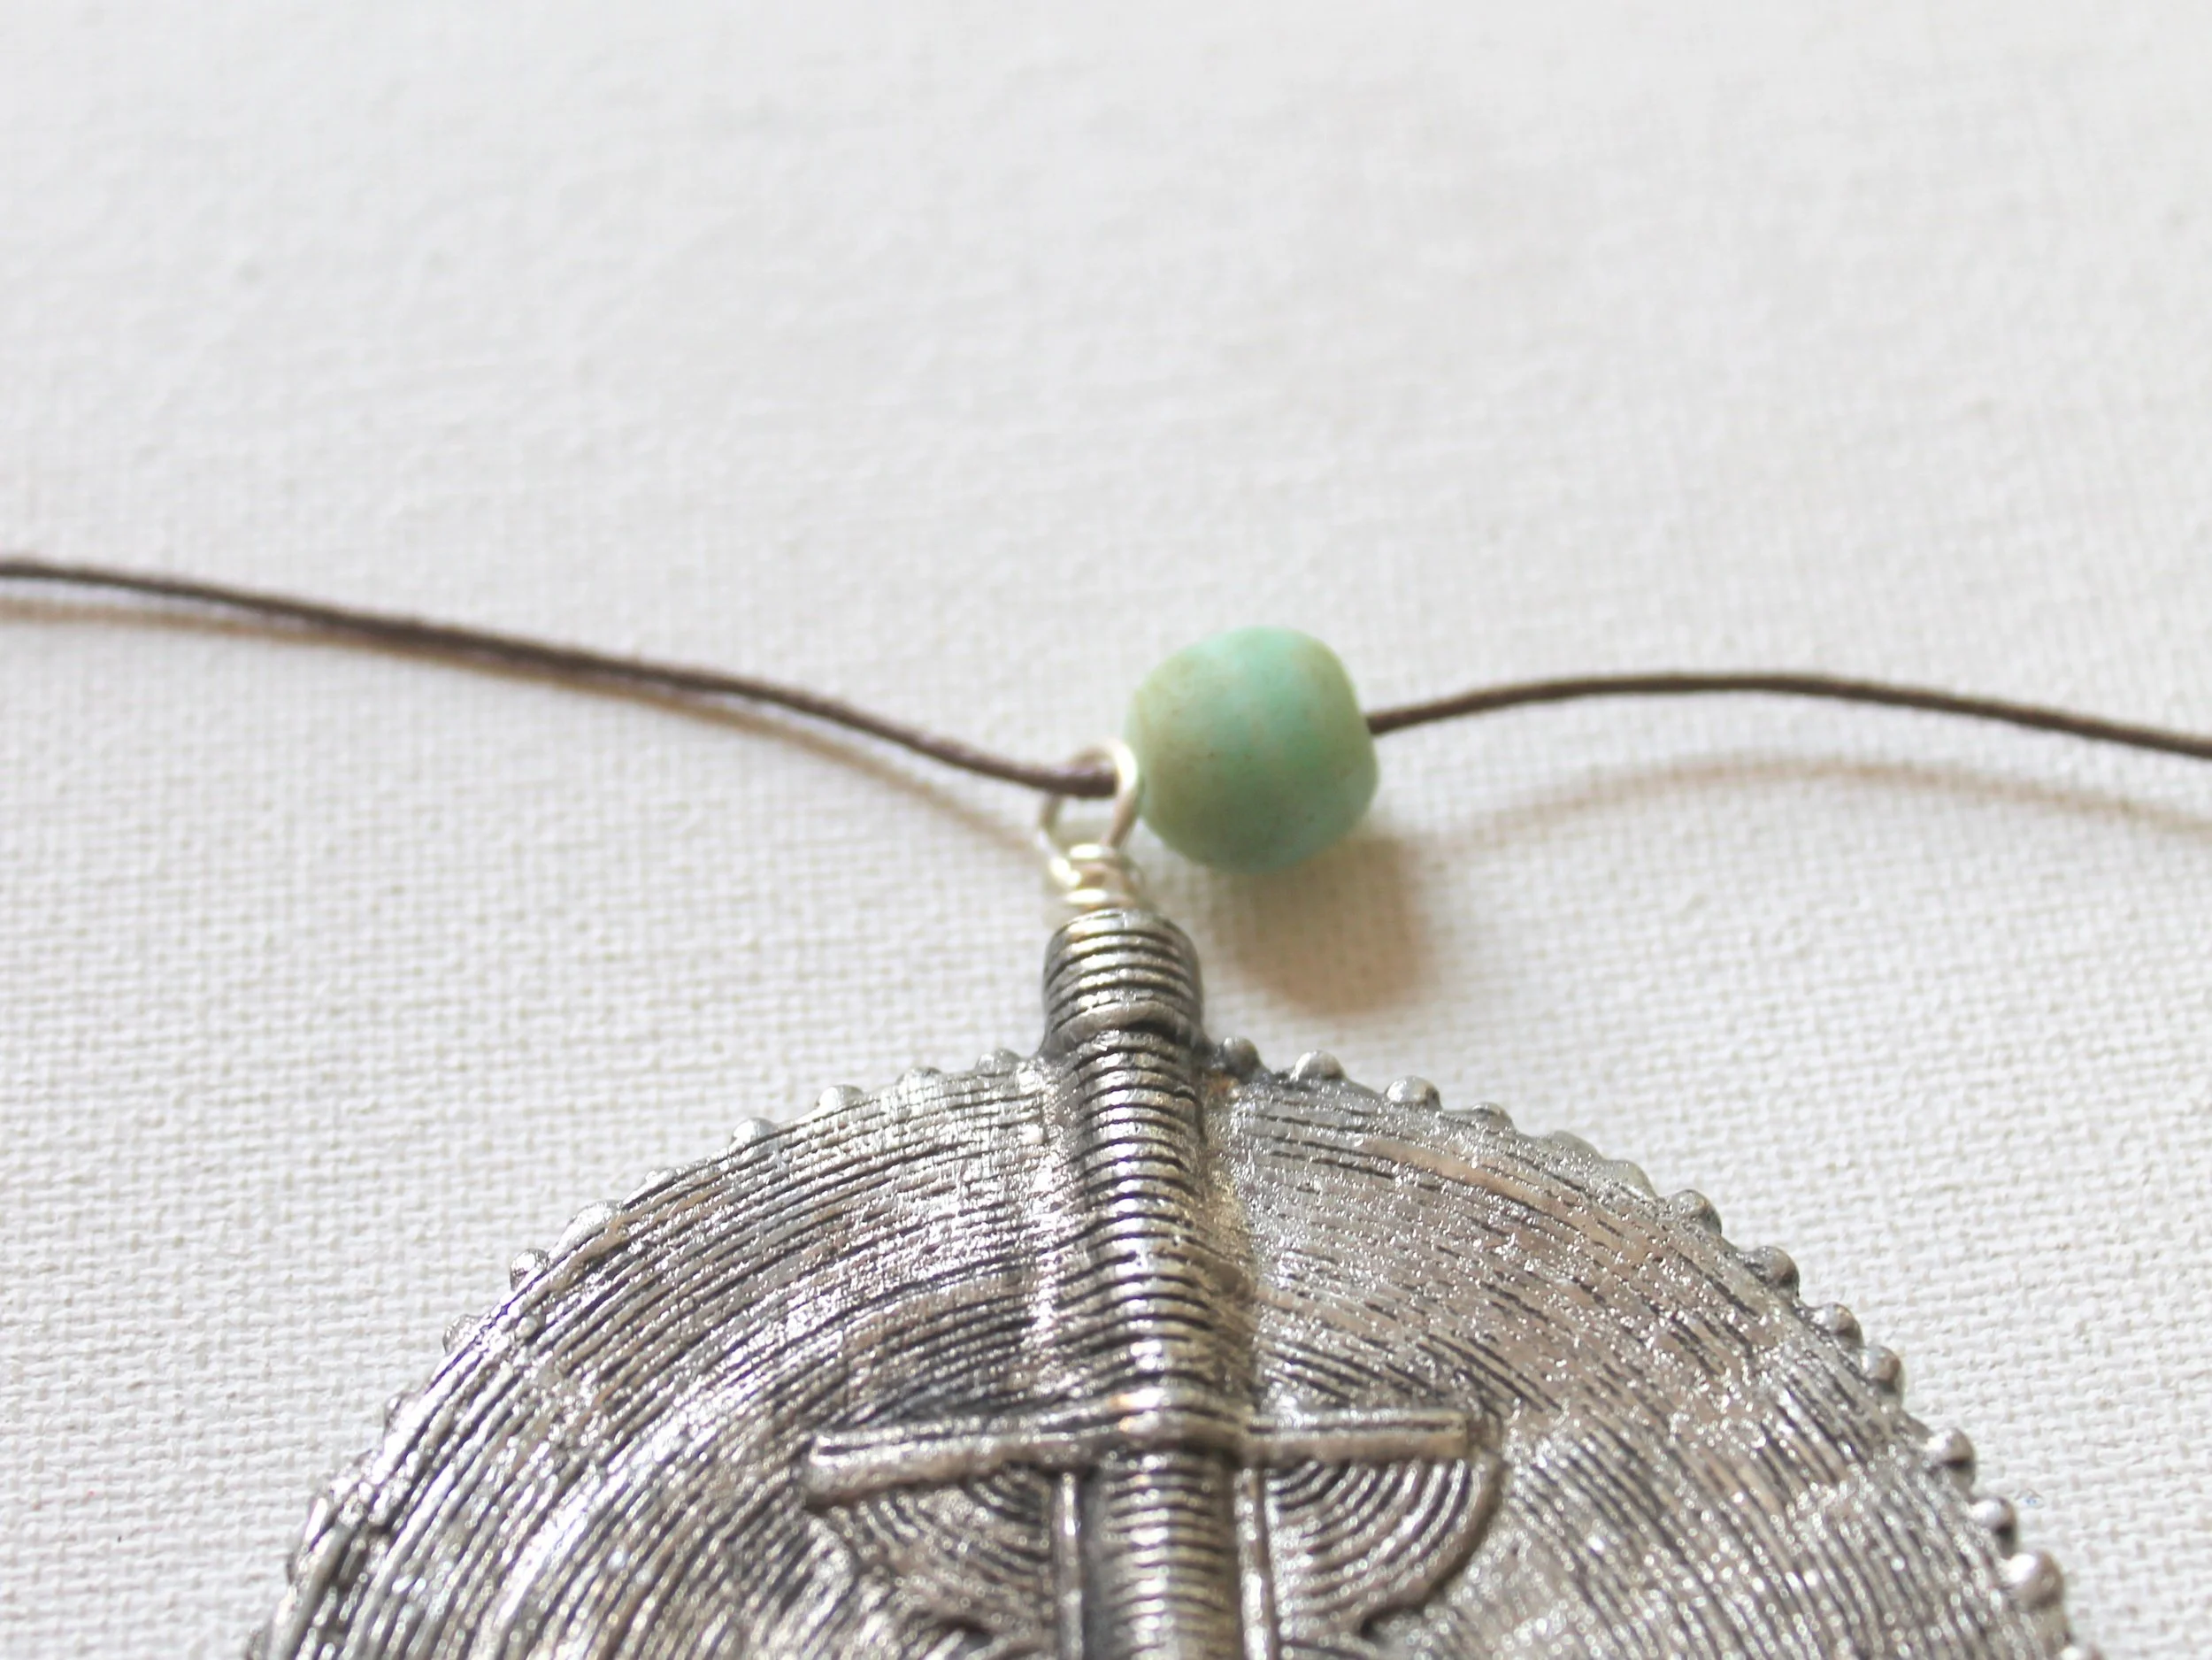
Place the pendant on the cord and find the middle of the cord. We'll work from the middle out.
Slide a bead onto the cord.
Step #9
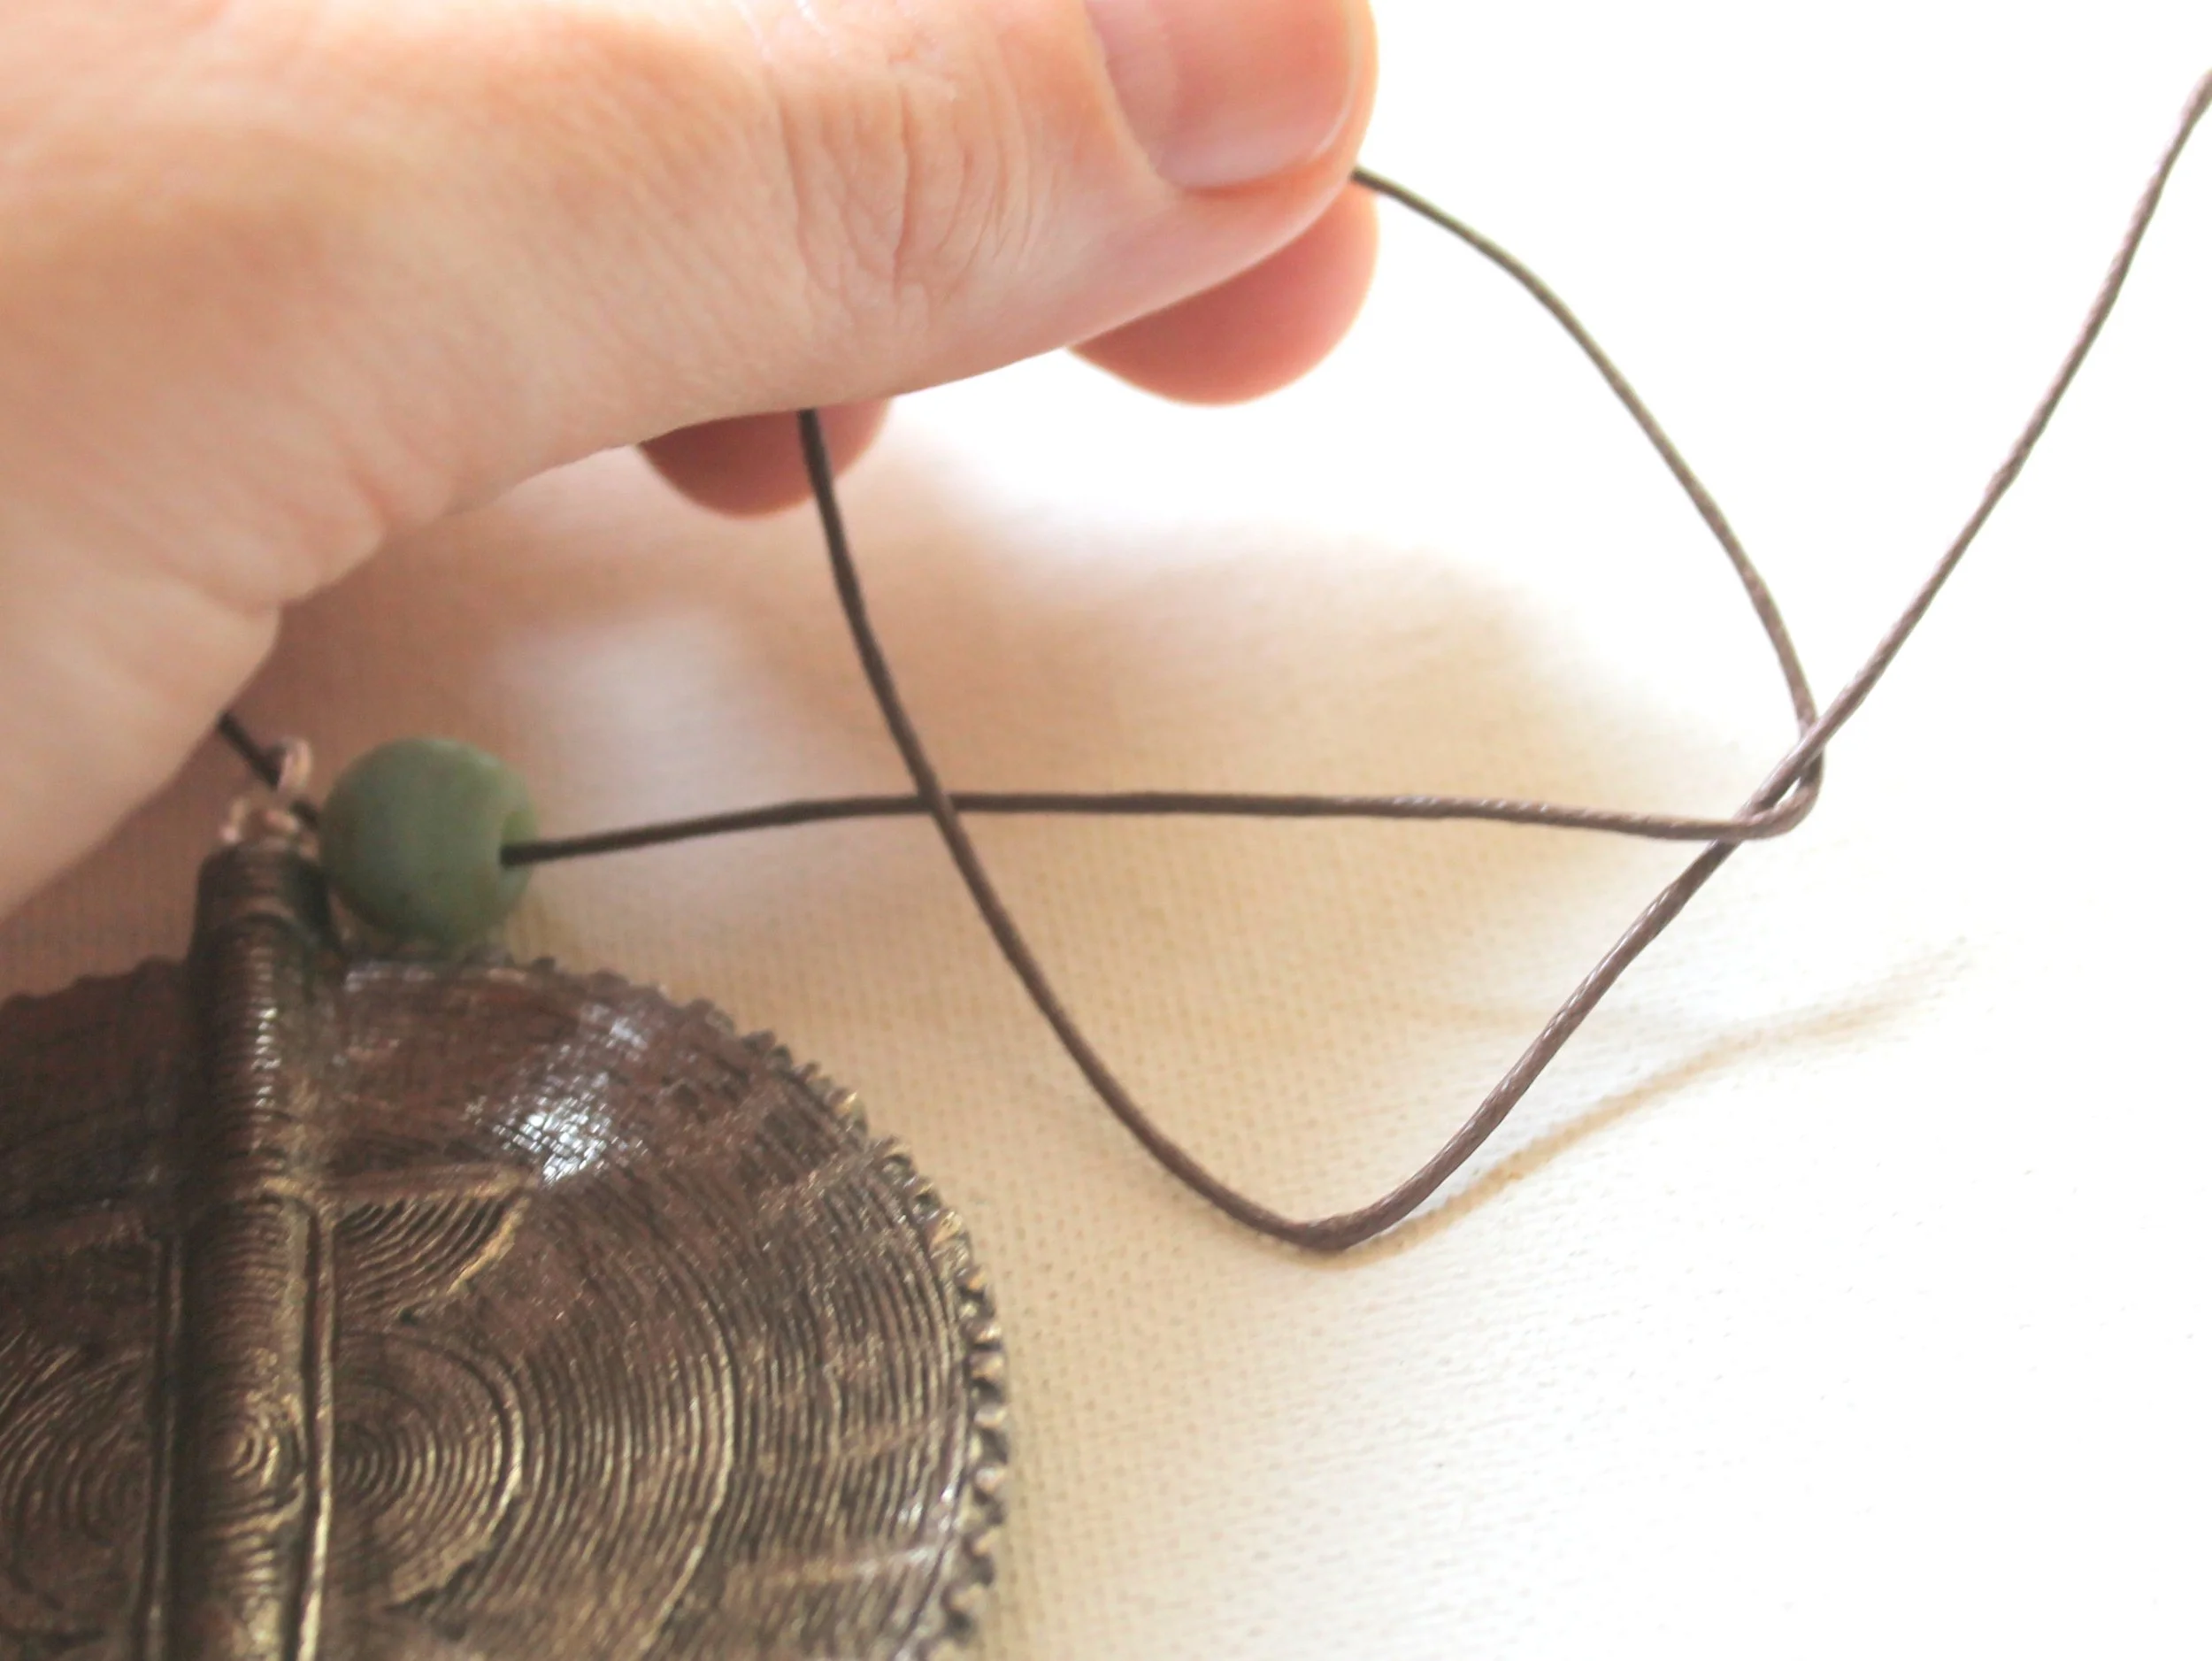
Make an overhand knot, but don't pull it tightly yet.
In this case, I decided to use triple knots in between the beads. To do so, pull the cord back through 2 more times before pulling it tightly.
In the video I mentioned that I started making quadruple knots. As you make each knot, check to see if the bead slides over the knot. I also just made a second overhead knot over top of the first knot to add a little more bulk before I started making the quadruple knots. You have to make sure that you pull the second knot on top of the first knot because otherwise it will just be next to the first knot and not helpful. (See the video if this seems confusing.)
Step #10
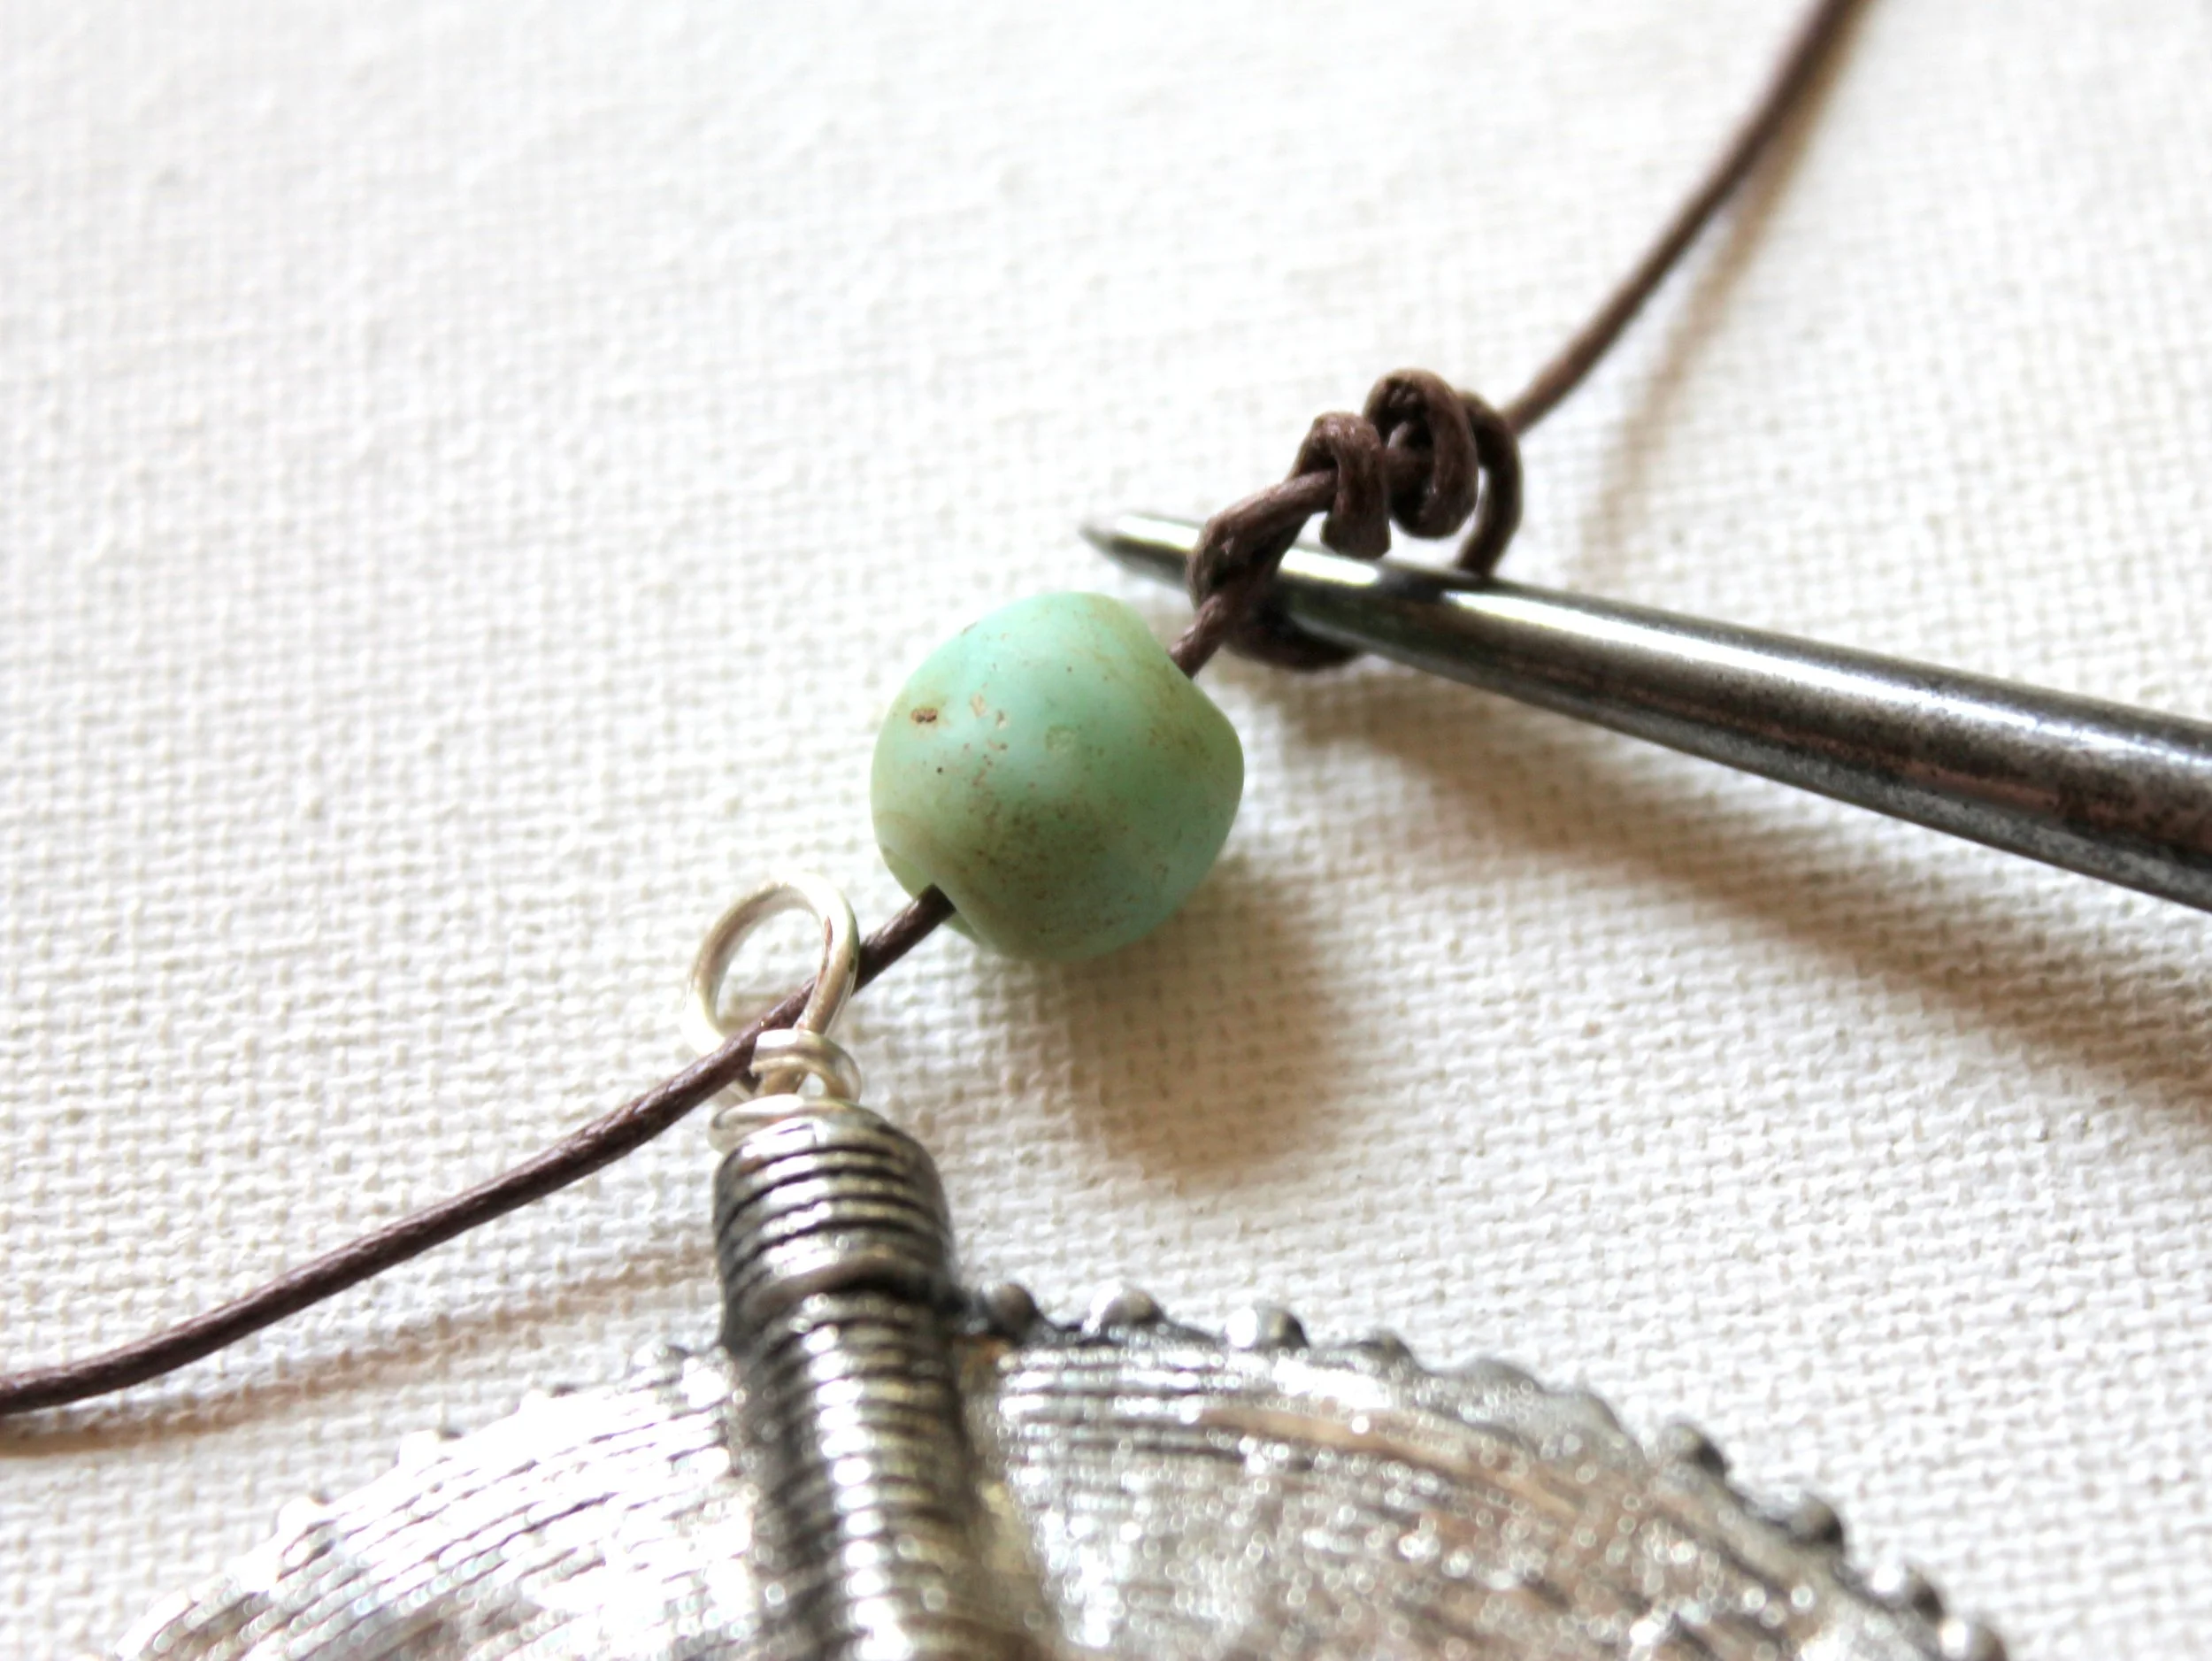

Put the awl in the middle of the knot and pull the knot. Then use the awl to pull the knot flush with the bead.
Pull the knot tightly as you're removing the awl while also using your finger to pull the knot tightly.
Step #11
Continue adding beads and knots working from the middle out, alternating sides, until your necklace is the desired length.
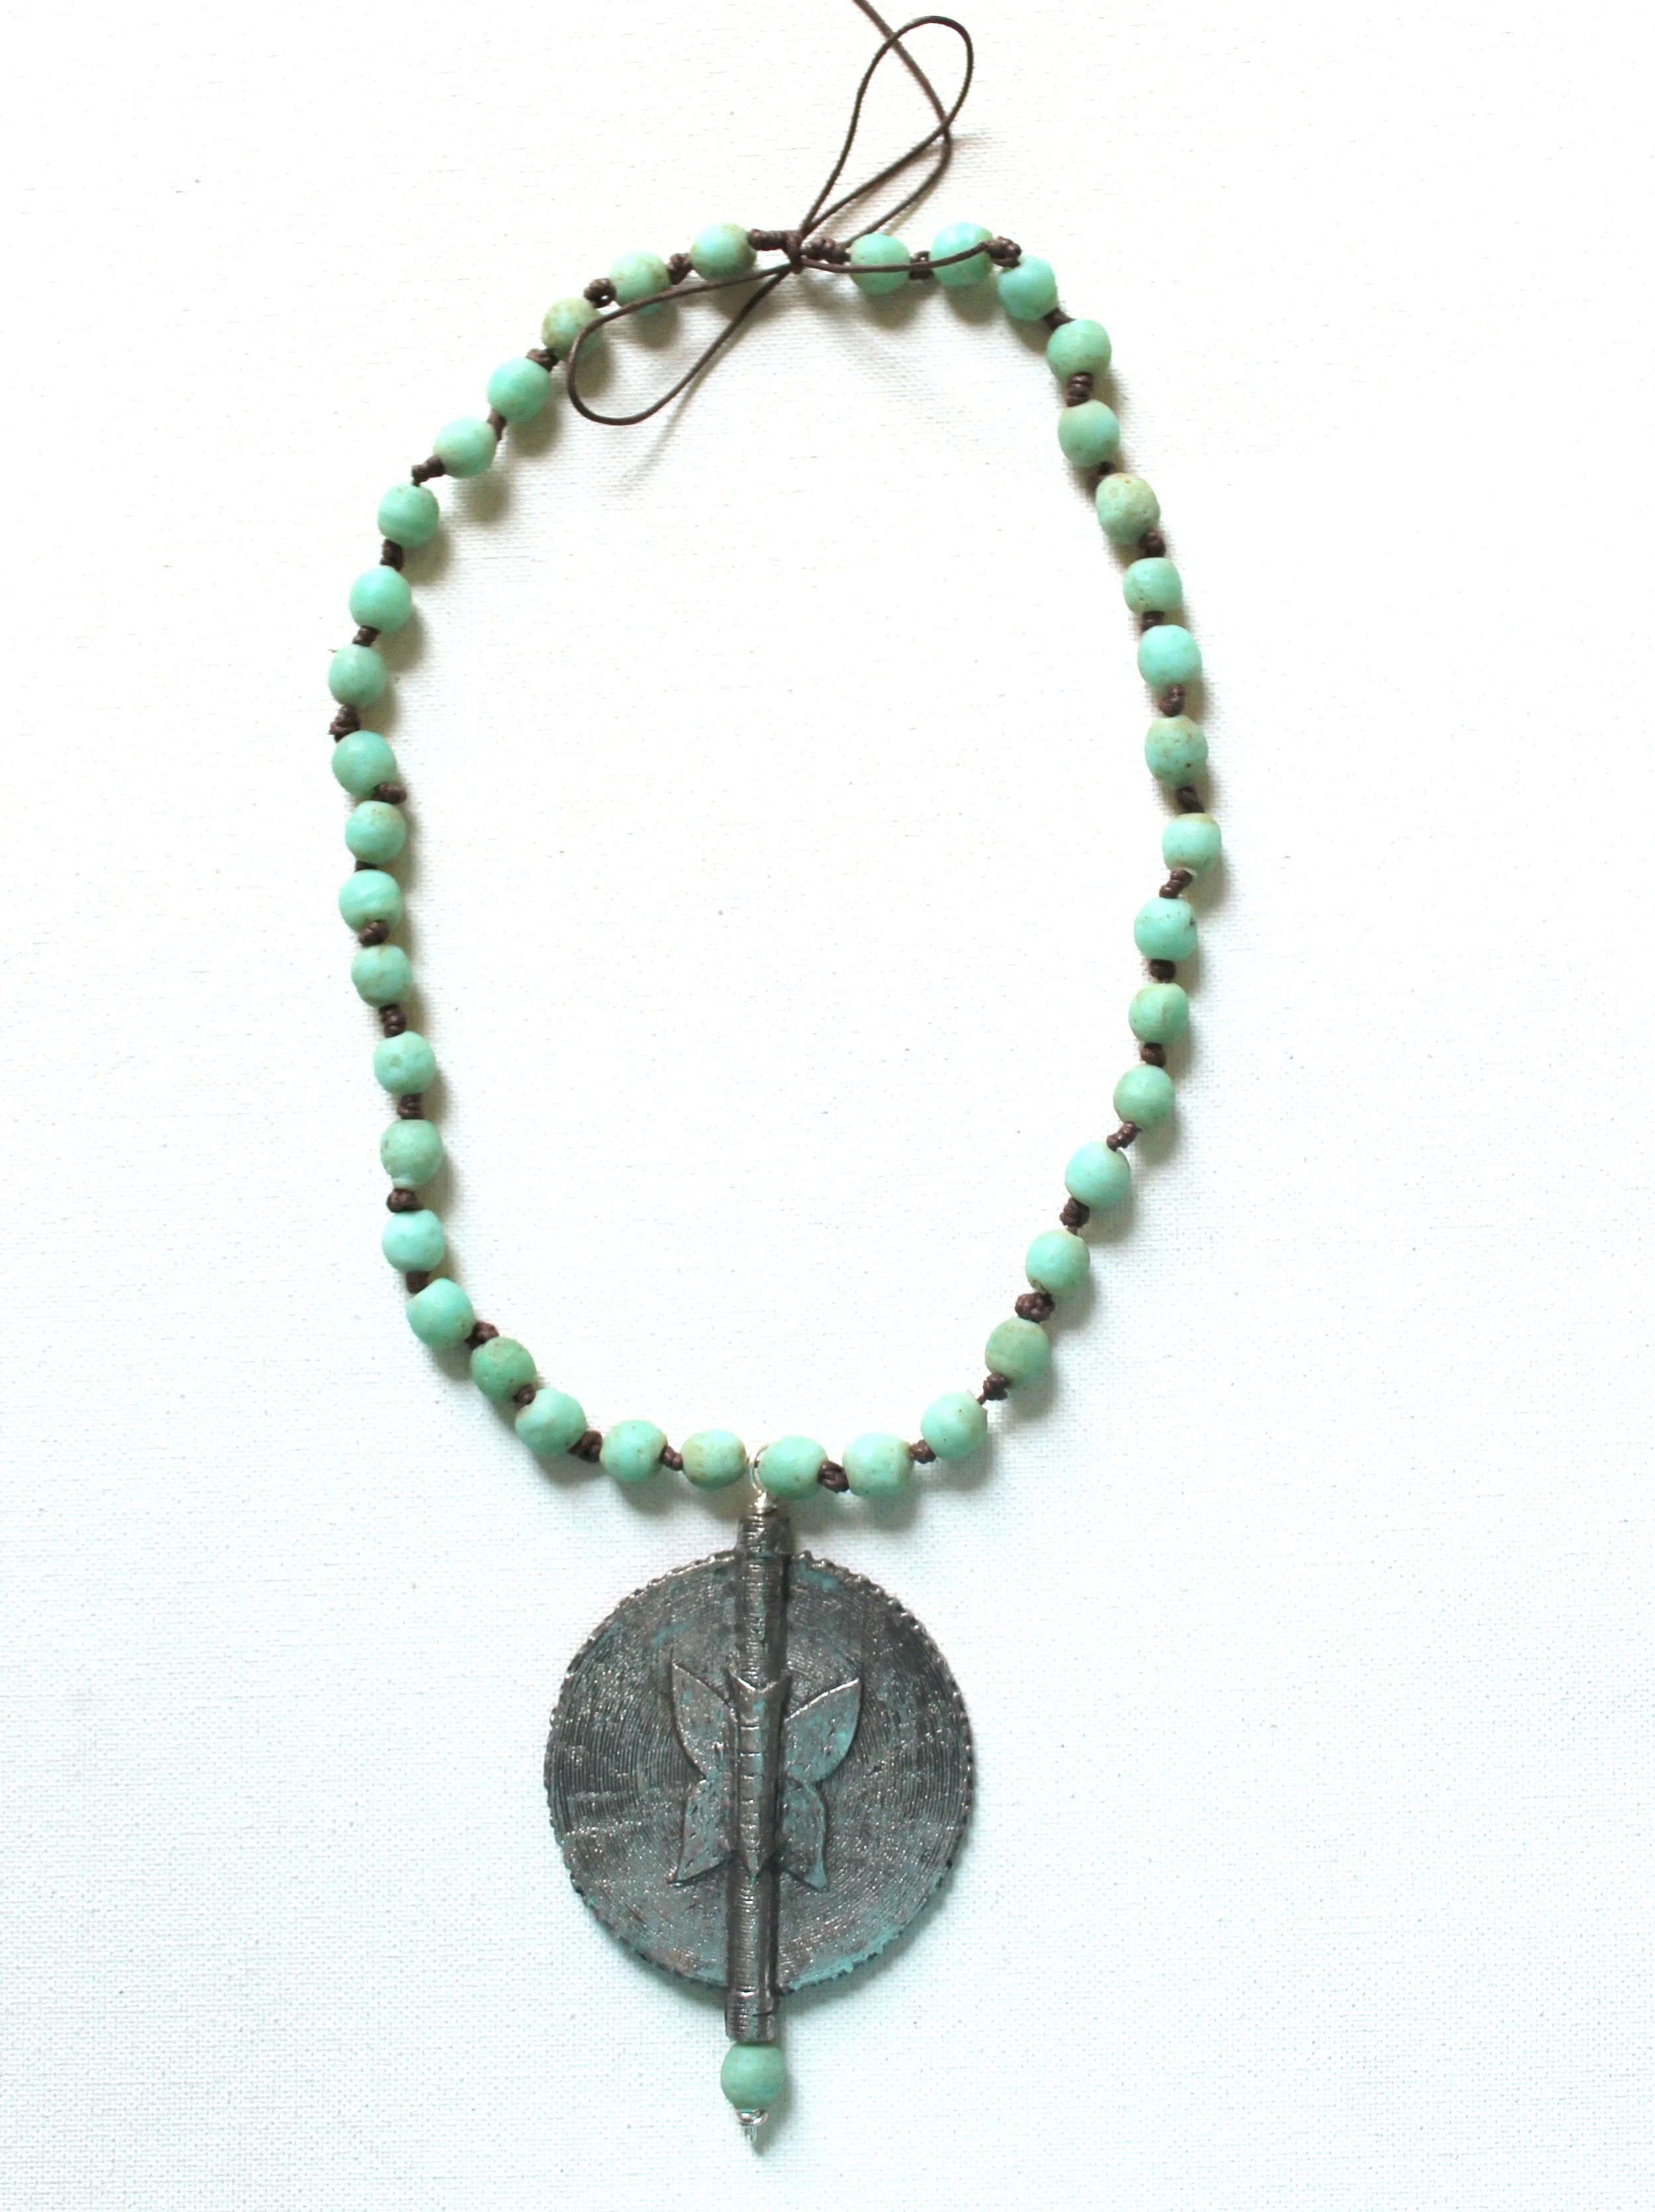
Step #12
Trim the ends of the cord so they're even, leaving enough room to make a bow and tie the necklace.
I prefer this necklace simply tied, but if you prefer you can use fold over crimp ends and a clasp to end your necklace.
This post was sponsored by The Bead Chest.