Wire Wrapped Rose Ring Tutorial

Wire Wrapped Rose Ring Tutorial
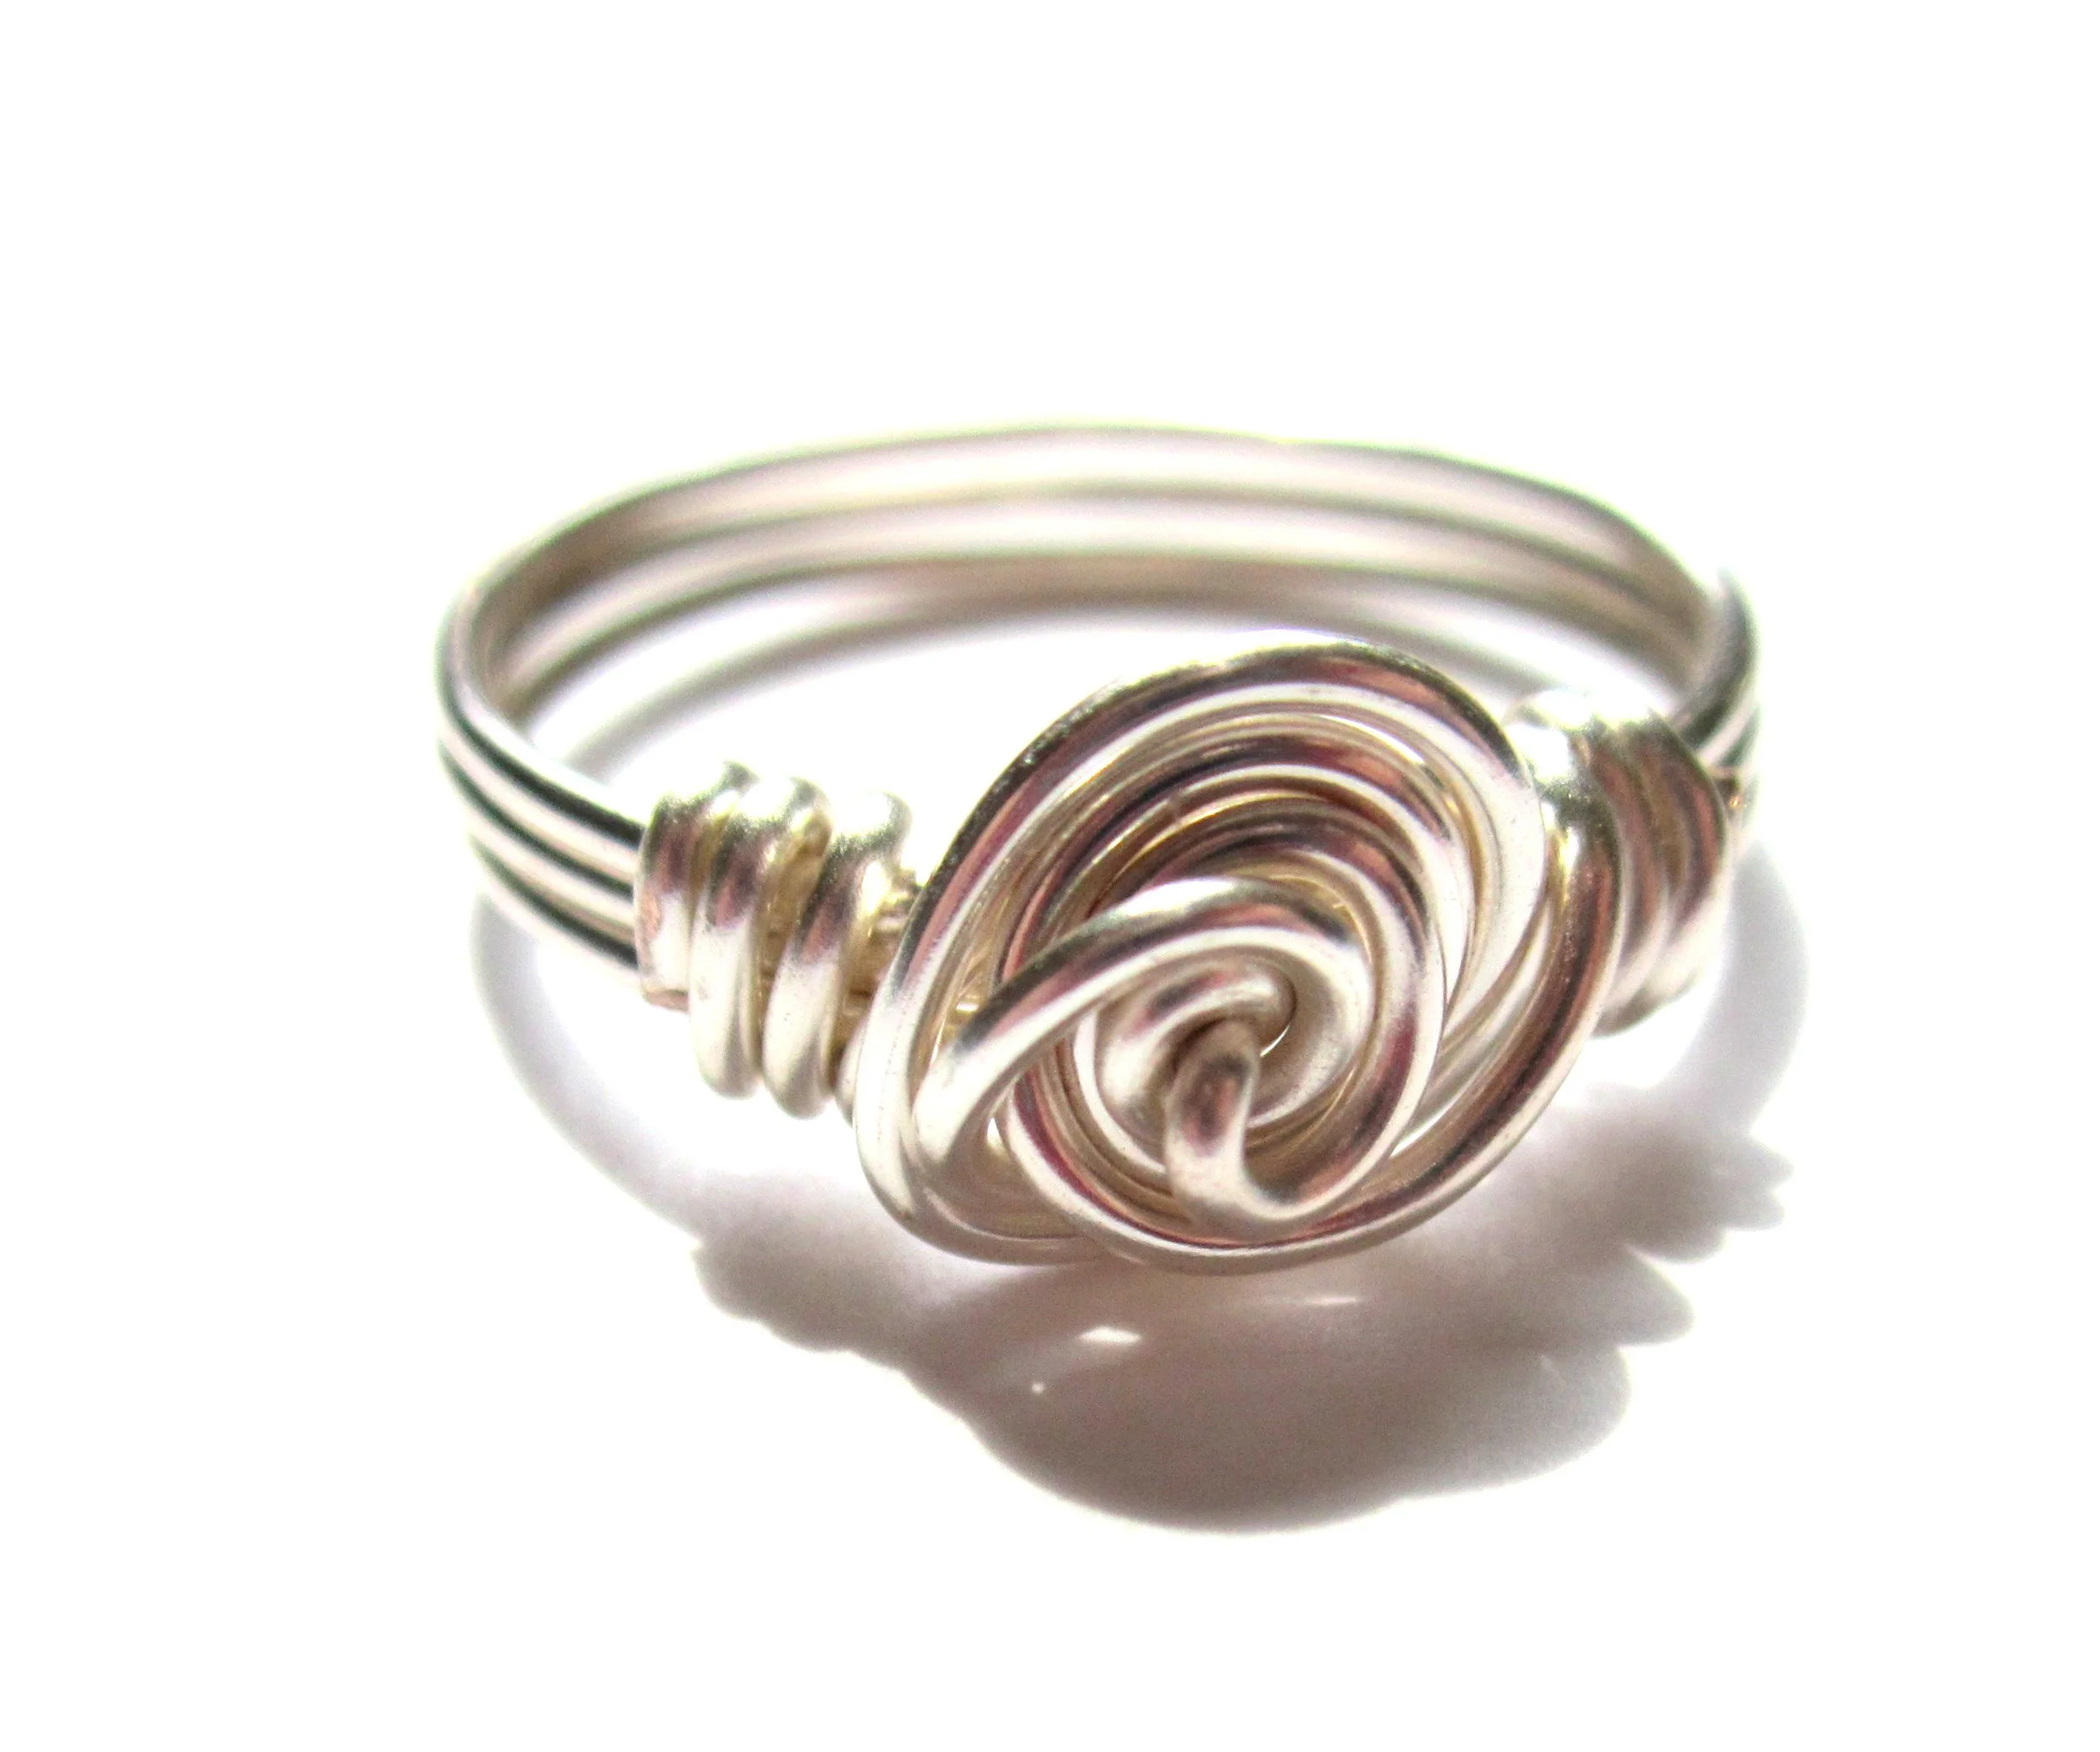
This ring is super cute and fun to make! It goes with everything! It makes a great gift!
Plus it looks super impressive even though it's not that difficult to make!
New: I have made a video tutorial on how to make this ring:

Materials and Tools:
18 or 20 gauge, half-hard round wire (any metal you like)
Ring mandrel
Wire cutters
Chain nose pliers
Serrated chain nose pliers (with teeth)
Note: If you don't have a ring mandrel, try a wooden dowel rod in the size of your finger. However, you can get ring mandrels relatively inexpensively.
What you see me using in these photos is actually a ring sizer, which is an inexpensive hollow plastic tool. It works fine for this ring, but for other types of rings you will want to invest in an actual ring mandrel.
Step #1
Cut about 24 inches of wire. If you're making a small ring, you'll need less; bigger ring, you'll need more.
Step #2

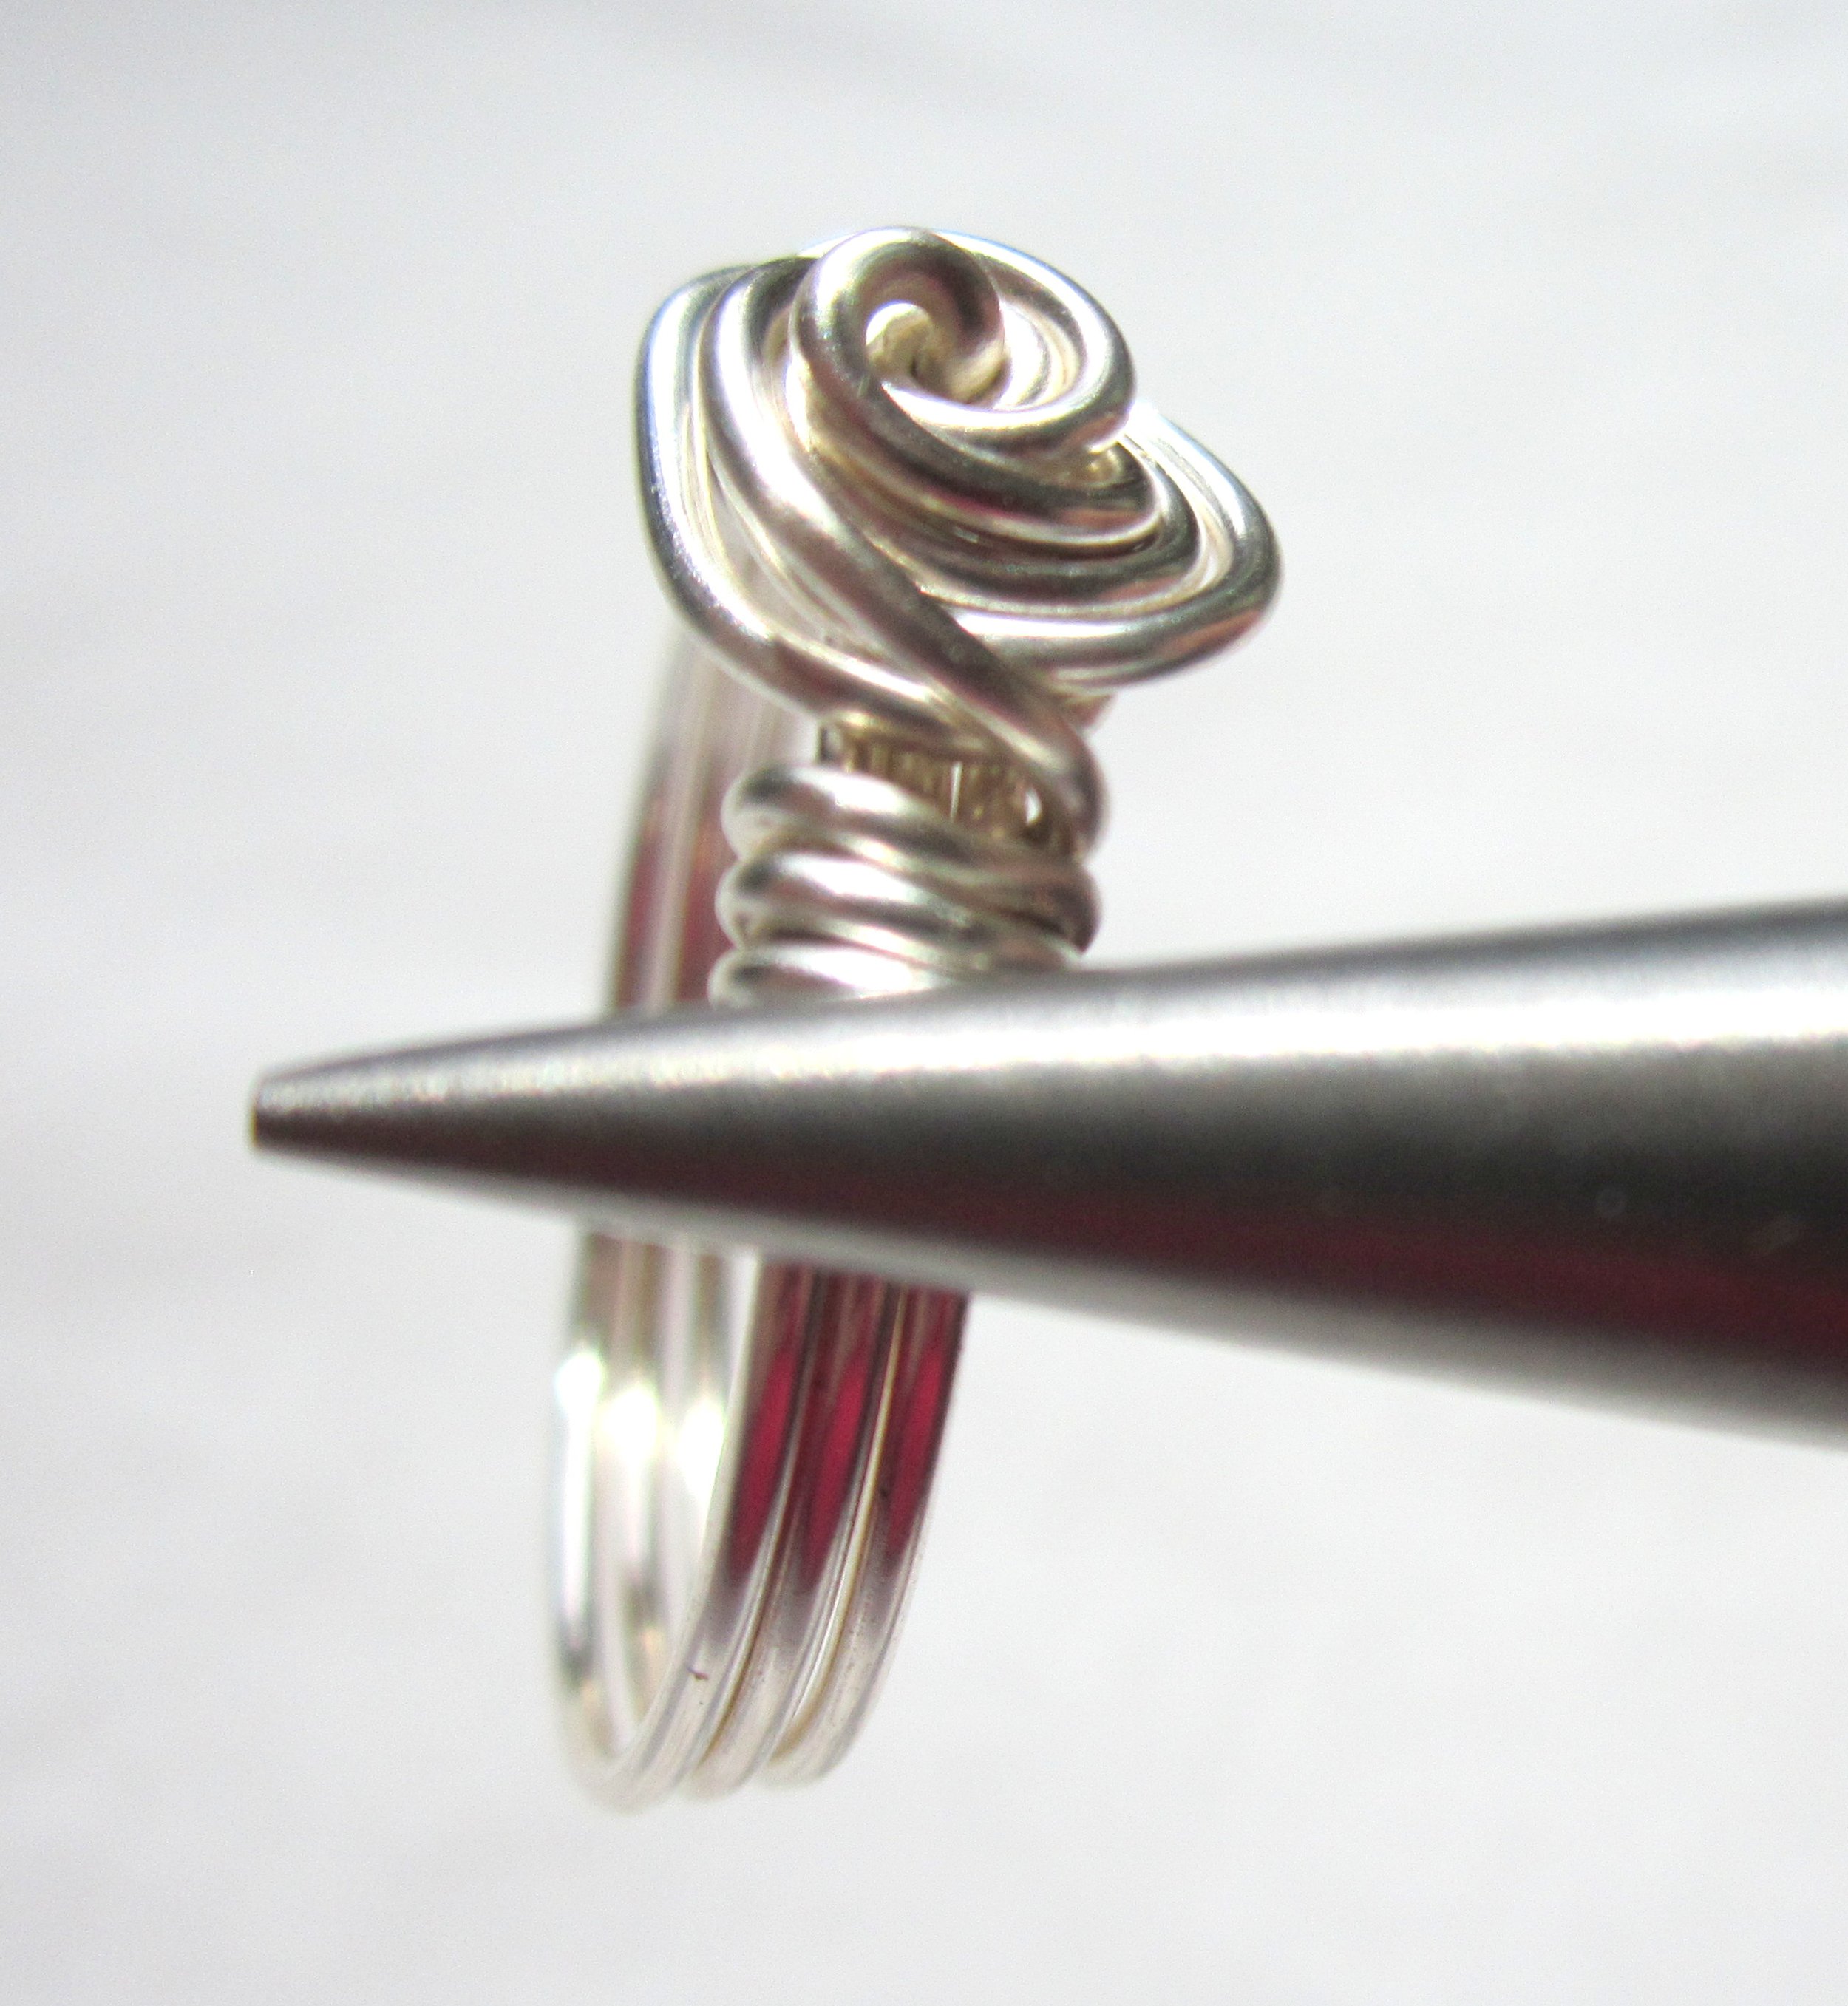
Wrap the wire around the ring mandrel 3 times. (There will be 4 wires showing in the back.) Do this about 1 full ring size larger than the size you are trying to make.
Step #3
After step 2, the ends of the wire should end up in the front.
Gather all the wires closely together and move them to about a 1/2 size bigger than the ring size you are trying to make.
Twist the wires.

Step #4


Take an end of the wire in each hand. Twist the wire in a circular motion. With each wrap, go under the previous wrap.
In all honesty, I forgot to count how many twists I did when I made this particular ring. I made another one and counted, and I did 8 twists.
However, just do it until you like the look. How many twists you do will depend on the gauge of your wire as well.
Step #5

Carefully take the ring off the ring mandrel. Be careful to make sure the wires don't unwrap.

Wrap each end through the ring band and around the ring band next to the rose. They should be on opposite sides going in opposite directions.Step
Step #6


Return the ring to the ring mandrel. Pull the wire down very hard with serrated chain nose pliers. Just hold the wire at the very ends (you'll cut that part off at the very end.)
Note: Sometimes when you pull wire very hard it can break. Be careful!!
After pulling down as hard as you can, bend the wire up and across the ring band. (See photo below.)Take the ring off the ring mandrel, flip the ring so the other side's wire is facing down and repeat on the other side.
Step #7

Take the ring off the mandrel and wrap around two to three more times around the ring band.
Step #8

Place the ring back on the mandrel again and follow Step #6
Step #9

Cut off the excess wire from each end. I like to end in the middle of the top of the ring.
Step #10
Using your non-serrated chain nose pliers, push in the ends and make sure they aren't loose or won't catch on anything.

Are you new to making wire wrapped jewelry?
Ready to dig in and get started?
My FREE Intro to Wire Wrapping Workshop will give you a solid background in wire wrapped jewelry and teach you all the important things you need to know to successfully create professional wire wrapped jewelry.
There is something so satisfying about creating your own jewelry. You can express your creativity while you’re making the jewelry and then you can express your creativity again when you match up your jewelry pieces in your outfits.
You get to wear your artwork!
My students have told me that I make complicated things seem simple and that I’m so friendly and easy to learn from.Making wire jewelry is my passion and I want to share my passion with you!
Sign up for the Intro to Wire Wrapping Workshop and get started today!
